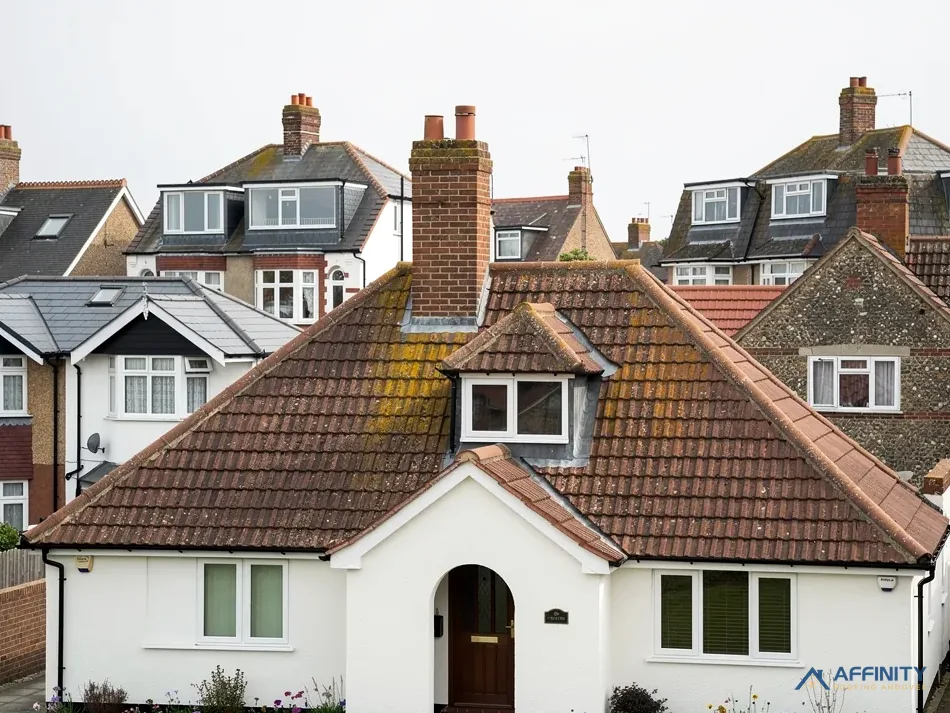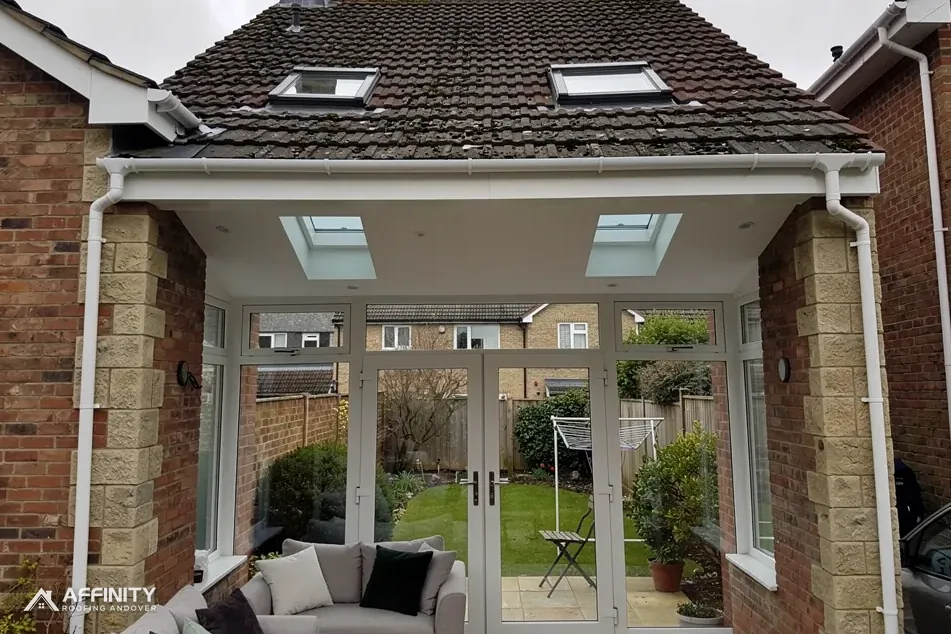
Roof windows do not last for ever. The glazing mists, the seals harden, the frame swells or rots, and the flashing around it wears out. When that happens the usual answer is to take the old window out and put a new one in the same hole.
In practice that is the meaning of a like-for-like swap. The opening in the roof stays where it is and keeps its size. The rafters and the headers around it stay as they are. What changes is the frame, the glass, the sash and the flashing kit that seals it to the roof covering. Done well, it is a half-day job with little disturbance to the rest of the roof.
It is not entirely free of rules, though. The new window has to meet the energy figures in Part L, the flashing has to suit the covering, and in a few places the council has an interest. And the opening is rarely exactly the size a new product expects, so the choice of replacement needs care.
This guide explains how to find a matching replacement, what a swap involves, what Part L asks, why planning permission is not normally needed and when a like-for-like job turns into something bigger.
Same opening, different window
The opening is the one fixed thing. Everything else can change, and the aim is to find a window that fits it.
Why the opening governs the choice
The opening was cut and trimmed when the old window went in. Rafters sit either side and a timber header and sill frame it. If the new window is the same size as the old, those timbers stay untouched. If it is larger, the timbers have to be altered, which turns a swap into a structural job.
Finding the match
Look for a plate or sticker on the frame, usually on the sash edge or inside the frame, which gives the maker's size code. The manufacturer can tell you the current equivalent. If the label is gone, measure the outside of the frame, and the size of the opening in the rafters, and compare them with the current range. Older sizes are not always made now, and the nearest replacement may be a few millimetres different.
When the size has changed
A small difference can often be taken up in the flashing and the lining. A bigger one means cutting the roof covering back or adjusting the trimmers.
Same type or different
You can keep the same type, such as a centre-pivot or top-hung, or change it if the room needs it. A different type can have a different frame depth, which affects the lining and the flashing.
If you want to see what a swap costs, our guide to the cost of replacing a roof window sets out the published figures.
What a swap involves, step by step
The job follows a clear order, and knowing it helps you judge a quote.
Preparation
Access is set up, normally a ladder and a safe working position, and in some cases scaffolding. The room below is protected with dust sheets, and furniture is moved away. The sash is lifted off, or the window is opened fully, to make the frame easier to reach.
Removing the old window
The surrounding tiles or slates are lifted back along the sides and top. The old flashing is removed, and the frame is unscrewed from the rafters and lifted out. The opening is inspected: are the timbers sound, is the underlay intact, is there any rot or damp?
Fitting the new frame
The new frame is fixed to the rafters, set level and plumb. An insulation collar goes around it, and the underlay is dressed to the frame so that any water is directed away.
Flashing and the covering
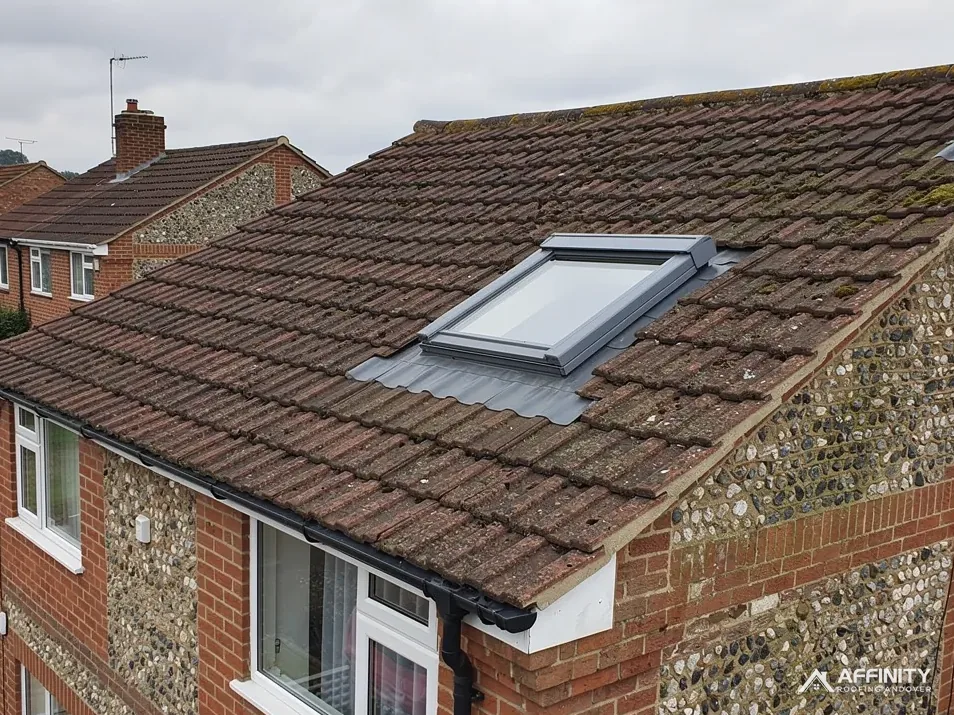
A flashing kit matched to the roof covering is fitted around the frame, working from the bottom up so each piece laps over the one below. Tiles or slates are relaid up to it. Our guide to flashing kits for tiles and slate explains the differences.
The sash and the lining
The sash is hung, tested and adjusted. The inside lining is trimmed and sealed. A final check is made for gaps and a test of the opening and closing.
The work is normally complete in a day, in dry weather, and the roof covering around the window is left tidy. If rain is forecast, the opening is covered at the end of each stage so that nothing is left exposed, and you are told if the job will run over.
Part L: the figure for a new window
A like-for-like swap still counts as fitting a new window, so the energy standards apply.
The window figure
In Approved Document L, Volume 1, Table 4.2 covers a new or replacement element fitted to a house that already stands. Its window row asks for 1.4 W/(m2K) or WER Band B, and a note says roof windows are included. The figure of 2.2 is for rooflights only, and applying it to a roof window is an error.
Why windows are treated separately
The Building Regulations 2010, regulation 2(3), defines a thermal element as a wall, floor or roof, and excludes windows, doors, roof windows and roof-lights. That is why roof windows have their own entry and are not governed by the roof's U-value. Renovation of a roof as a whole follows Table 4.3.
What to ask for
The product data sheet should state the U-value or the Window Energy Rating. Check that it meets the figure and keep the sheet with your records. Many current roof windows comfortably exceed the minimum, and an old double-glazed unit rarely does.
Editions
The 2021 edition applies until 24 March 2027. From that date the 2026 edition takes effect, with the tables renumbered 3.2 and 3.3.
Building control
Ask building control whether your replacement window needs notifying. In Test Valley the contacts are local authority building control and the registered approvers.
If the opening grows, wider Building Regulations checks apply, and the survey flags them.
Planning: normally nothing to apply for
Changing a roof window for another of the same size and position rarely raises a planning question. Three reasons stand behind that.
No material change
Under section 55(2)(a) of the 1990 planning Act, works that leave a building's outward look substantially unchanged are not development at all. A new window in the same hole, of similar size and appearance, usually falls within that.
Class C permitted development
Where the appearance does change, Class C permits roof alterations on a house. It may project only 0.15 metres beyond the original slope. A window in a side slope has to be obscure-glazed, and either fixed or with opening parts higher than 1.7 metres above the floor.
Where the rules tighten
A flat has no permitted development rights, and an Article 4 direction can remove Class C rights in a defined area. Conservation areas do not remove Class C, but councils sometimes ask for slim, flush windows on a front slope. A listed building needs consent as well when the work changes what is special about it. Our guide to conservation roof windows explains the choices.
Who to ask
In Test Valley the planning team to ask is Test Valley Borough Council's. Other areas ask their own council.
A short email with a photograph and the dimensions can settle the question in writing, and takes a few minutes.
Flashing, the roof covering and the join
The flashing is where most roof window problems start. A well-made window in a badly flashed opening will still leak.
The kit must match the covering
Roof windows are flashed with a kit made for the type of covering. Profiled tiles, flat tiles and slates each need a different shaped apron and side pieces. A kit for the wrong covering cannot seal properly. If the roof has been re-covered since the old window went in, the old kit may not suit the covering that is there now.
Lead and aprons
Many installations include a lead apron at the bottom, which takes the water over the tiles below. Lead is worked to BS 6915, as Approved Document C points out. Cheaper aluminium kits suit some coverings, and the choice depends on the tile profile and what is already there.
Making good the covering
The tiles or slates around the opening are lifted and relaid. Broken ones are replaced, and the new tiles should match. The battens around the frame are checked and, if soft, renewed.
The underlay and the collar
The underlay must be dressed into the frame and the insulation collar, so that any water that gets past the covering runs down inside the flashing and out at the bottom.
What can go wrong
A reused old flashing, an incorrectly lapped piece, or sealant used where metal should be. These cause the leaks that owners later blame on the window itself.
Ask the installer which kit will be used, whether lead is included and who makes good the tiles. A photograph of the finished flashing, taken before the tiles go back, is a useful record, and it costs the installer nothing.
When a swap becomes something bigger
Most like-for-like jobs stay that way, but a few signs show the job is turning into something larger.
Rot in the surrounding timbers
Long-term leaks and condensation can rot the header, sill and rafters beside the frame. Once the old window is out, the damage is visible. Timber repairs add time and cost, and sometimes a structural check.
Wanting a bigger window
A larger opening needs trimmers and a new header. That is a structural alteration, and the Building Regulations apply. If the new window is much wider, the planning position may also change, as the limit of 0.15 metres still applies, and a different position on the slope can affect a conservation area decision.
Changing the type
Moving from a standard roof window to a balcony type, or adding a second window, is a different job from a swap. The same goes for any change that moves the opening up or down the slope, because the rafters on either side may no longer line up with the frame.
Loft rooms and escape
If the window serves a loft room, it may act as an escape window. AD B asks for a clear opening of at least 0.33 square metres, 450 mm minimum in width and in height, and a lower edge no higher than 1100 mm off the floor. Check any change against those figures.
A tired roof
If the covering around the window is nearly worn out, it may be better to deal with the roof rather than refit a new window into it.
A survey of the opening before the work is priced settles all of these, and the written price reflects what is found. Our roof windows and skylights page covers the wider range of work.