A brown ring spreads across a bedroom ceiling after a night of rain. The obvious conclusion is that the roof directly above it must be broken. Often it is not. Water that gets past a tile or a flashing runs along whatever it meets first: the underlay, the side of a rafter, the top of a plasterboard sheet. It may travel a metre or more before it finds a place to drip.
Finding the real entry point is therefore detective work, and doing it properly saves money. A repair on the wrong spot leaves the leak running, the ceiling damp and the owner out of pocket twice. A careful trace starts with what the water has left behind and works back up the roof.
This guide describes how that trace goes: why the stain misleads, what is visible from the garden, what the loft reveals, how a roofer confirms the entry point, and how to tell a leak from condensation, which looks similar and needs a different fix. It also covers what to do in the meantime. Costs quoted come from named guides as typical UK ranges, and a price for your roof comes only after a survey.
Why the stain is rarely under the hole
Water follows gravity and whatever surface it lands on, which is not always straight down.
Following the underlay
Beneath the tiles sits the underlay, a membrane that catches rain blown or driven past the covering and leads it down to the gutter. If a tile is cracked or a flashing has lifted, water reaches the underlay and runs down it, sideways along any ripple, until it drops over a batten or through a nail hole. That point may be well away from the entry.
Running along timber
Rafters slope, so water on a rafter runs towards the eaves. It may soak into the timber and re-emerge lower down, or run along the top plate where the rafters meet the wall. By the time it reaches the ceiling, it has been through several routes.
The ceiling hides its own journey
Plasterboard is a sheet of gypsum between two layers of paper. Water spreads sideways across its upper face before it soaks through, so the stain shows up some distance from where the drip began. A damp patch near a chimney breast, a wall or a light fitting often has its source higher up the wall or above the roof line.
Why wind matters
Some leaks only appear when rain is driven from one direction. Rain blown up a slope can enter at a lap that is dry in a downpour from above. Our answer on a roof leaking in wind goes into that case.
So the first rule is simple: treat the stain as a clue to the route, and never as the location of the fault.
What you can see without leaving the garden
You can learn a lot without leaving the garden, and you should leave the roof itself to people with the right access.
Binoculars and a phone camera
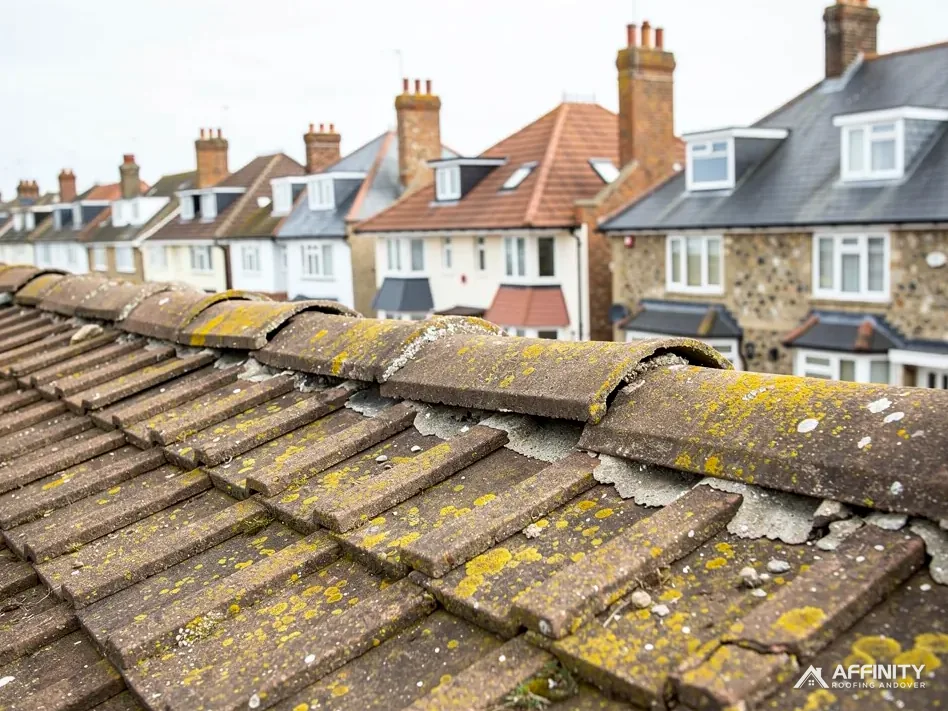
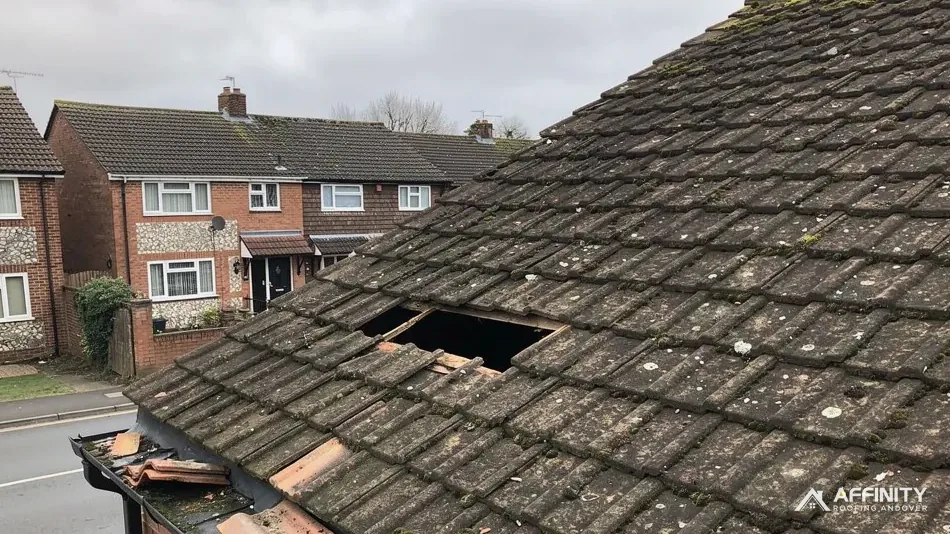
Step well back, so the whole slope above the stain is in view, and use binoculars or a phone's zoom. Look for tiles that have dropped below the line of their neighbours, tiles with visible cracks, a gap along the ridge and anything that differs from the rest of the roof.
The usual suspects
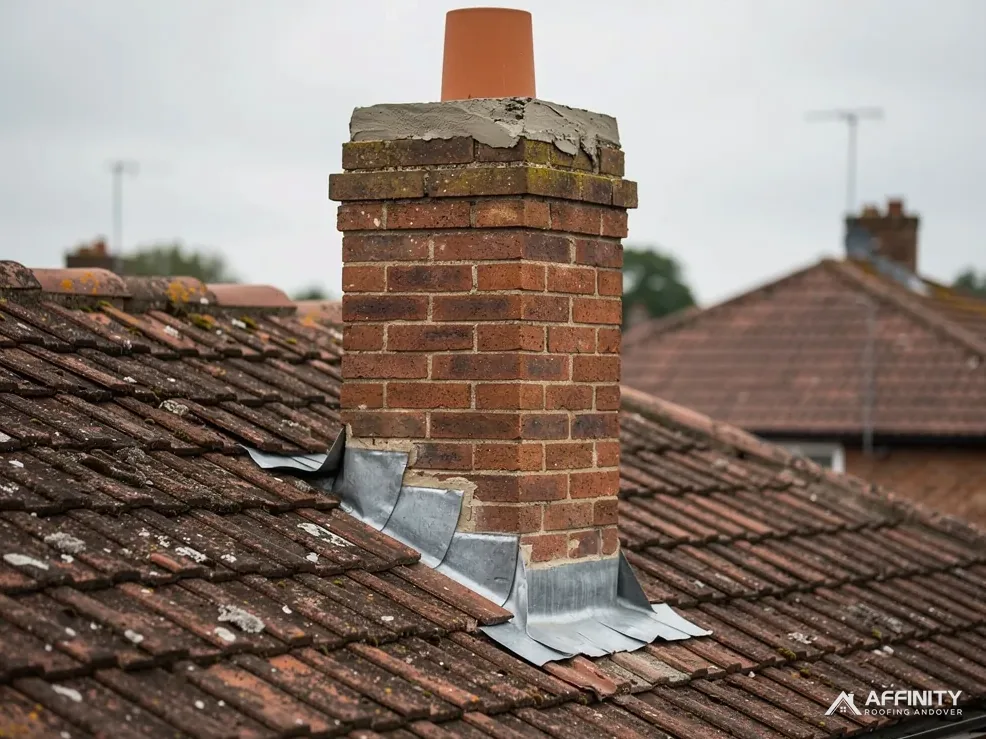
Leaks cluster around features that interrupt the roof: chimneys, valleys, dormers, roof windows, walls that meet a slope and the joints at ridges and hips. Lead flashings round a stack can lift, and sealant at a roof window can fail. A valley blocked with leaves can overflow under the tiles beside it.
Gutters and eaves
A blocked or overflowing gutter can send water behind the fascia and into the wall or the eaves, which then shows up as a ceiling stain by the outside wall. Look for overflow marks down the brickwork.
Check the age and the repairs
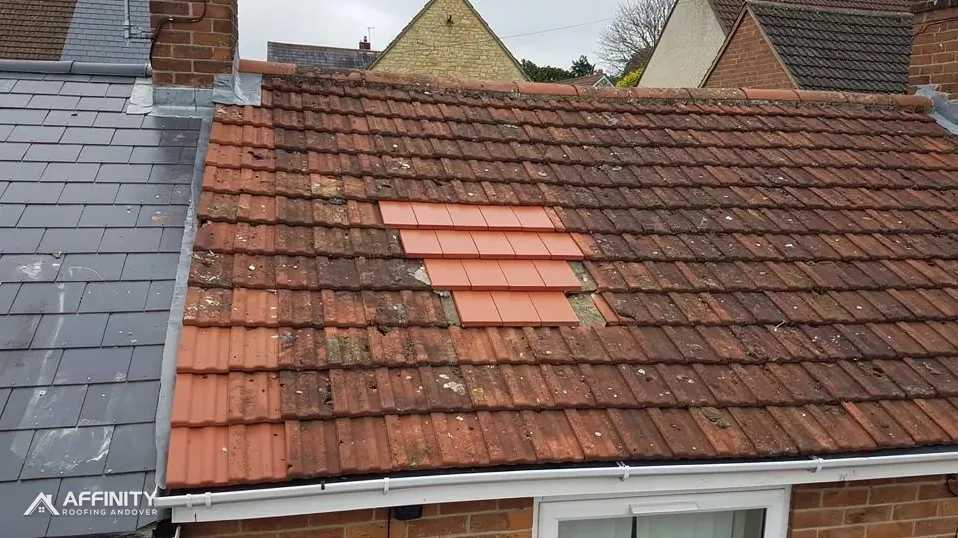
An old patch of mortar, an earlier repair that has failed or a roof of mixed tiles marks places that have needed attention before. Past leaks tend to return where past repairs were done.
Keep a record
Photograph the stain, the date and the weather when it appeared, and what the rain was doing. That record helps whoever surveys the roof.
Do not climb up to look. Wet tiles are slippery and old ones crack underfoot.
Loft checks that narrow it down
If you have a loft you can enter safely, it offers the best evidence of where water has been, because the underside of the roof is visible there.
Safe entry first
Use a stable ladder, keep to boarded areas or the joists, and never put weight on the ceiling plasterboard between them. Take a bright torch, and let someone know you are going up. If the loft is not boarded and you are unsure, leave it for the survey.
What to look for
Dark tide marks on rafters, battens and the underlay's lower face show where water has run, and the clean line at the edge of a stain tells you how far it spread. Damp or compressed insulation, drips on timber and rusting nails point to the area directly under the entry. Daylight through the covering marks a missing or broken tile.
Wet or dry?
Check whether stains are wet to the touch while it is raining. A damp patch that grows during rain is a live leak. One that stays the same size in wet and dry weather may be old, or caused by something else.
Follow the stain uphill
The highest point at which timber is wet or marked is usually closest to the entry. Mark it with a pencil if you can, and photograph it with something for scale.
Underlay and insulation
A torn or slipped underlay near a stain is a strong clue. So is insulation that has been pushed against the eaves, since it can block ventilation, and that leads on to the next point: condensation can mimic a leak.
Leak or condensation: telling them apart
Condensation is moist air turning to water on a cold surface. It can darken a ceiling, drip from nails and leave mould on timber, and it is sometimes mistaken for a leak. The causes and the fixes differ, so it is worth getting right.
Clues that point to condensation
Spots and drips that appear in cold weather without rain, damp across a wide area rather than a single stain, droplets beneath the underlay and mould in corners or on north-facing rafters all suggest condensation. It tends to be worse after cooking, bathing and drying washing indoors.
Clues that point to a leak
A stain that appears or grows during or just after rain, a single defined patch with a tide mark, and wet timber near a chimney, valley or flashing suggest a leak. Both can occur on the same roof.
Why it matters
Approved Document C says roofs should be designed so that their performance is not adversely affected by interstitial condensation, which is damp forming within the roof build-up. A roof that is not ventilated as intended can keep timbers damp all winter. Repairing tiles will not cure that, and ventilating will not stop a cracked tile admitting rain.
Next steps
Our guide on whether it is a roof leak or condensation sets out more signs and the usual fixes, and the roof repairs hub shows the wider service. A survey can check both, along with the loft hatch seal and eaves ventilation, so you pay for one visit.
If in doubt, keep notes of when the damp appears, and tell the roofer.
How a roofer confirms the entry point
Once the clues point to an area, the roofer confirms it before repairing, so the fix lands in the right place.
Close inspection
From scaffolding, a tower or a roof ladder, the roofer examines the suspect area: tiles raised to see battens and underlay, flashings checked along their length, sealant and mortar pressed and tapped. Photographs are taken of what is found.
Controlled water testing
Where the cause is still not clear, a water test helps. One section of roof is wetted at a time with a hose, starting low and working upwards, while someone in the loft watches for water. The pause between sections matters, because the first place that shows water is the lowest part of the route. Testing from the top down would wet the whole route and confuse the result. The test needs patience and two people, and it takes time, which is reflected in the cost.
Eliminating other causes
Gutters, pipes, tanks and vents can all produce damp that looks like a roof leak. A roofer rules out a failed pipe joint or an overflowing tank before spending hours on the roof.
What it costs
MyJobQuote gives an average roof survey at around £300 (Oct 2026), and an emergency roofer call-out typically from £150 to £300 (Oct 2026). Those are typical UK ranges. The roofer should say what the visit will include before arriving.
Then the fix
Repairs are quoted as one written total price with the photographs that justify them.
What to do while you wait for a repair
A leak rarely arrives at a convenient time, and a few simple steps limit the harm until a roofer can come.
Contain the water
Put a bucket or tub under any drip, with a towel or sheet in it to stop splashing. If the ceiling bulges, a small hole at the lowest point lets the water drain into a container rather than collapse the board. Switch off the lights and circuits nearby if water is near fittings, and call an electrician if you are worried.
Move belongings
Shift furniture, electronics and bedding out of the way, and photograph anything that is damaged.
Tell your insurer
If you have buildings insurance, tell the insurer first, make a temporary repair if you can safely, and keep photographs and receipts. Do not promise yourself a payout: that depends on your policy's own wording.
Temporary protection
A roofer can make a roof safe with a temporary covering until a proper repair is arranged. Ask what has been done and what is still outstanding. Our answer on leaving a roof leak covers the risk of delay.
Choosing who to call
Ask for a survey that includes photographs, a straightforward explanation and a single written total. Citizens Advice suggests collecting quotes from at least three traders, though a leak sometimes cannot wait that long, and a make-safe visit can come first. If a trader turns up uninvited after a storm, take care: our answer on roofers cold calling after a storm explains what to do.