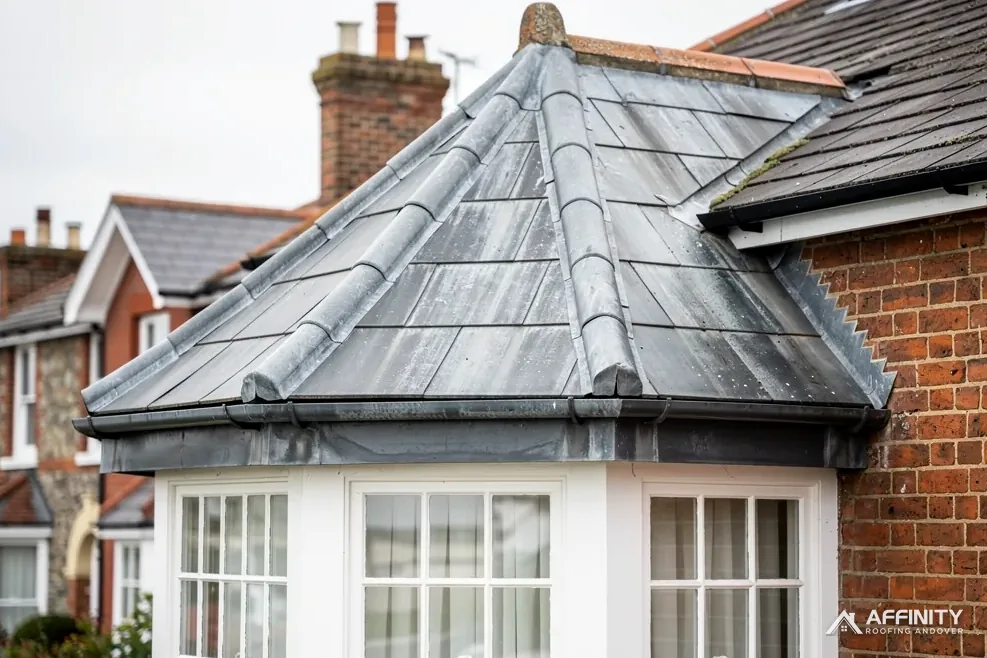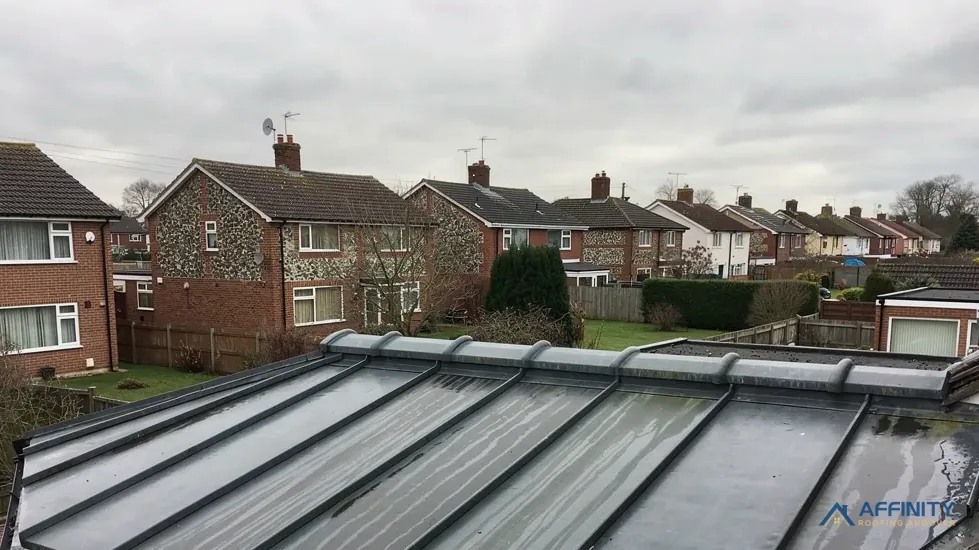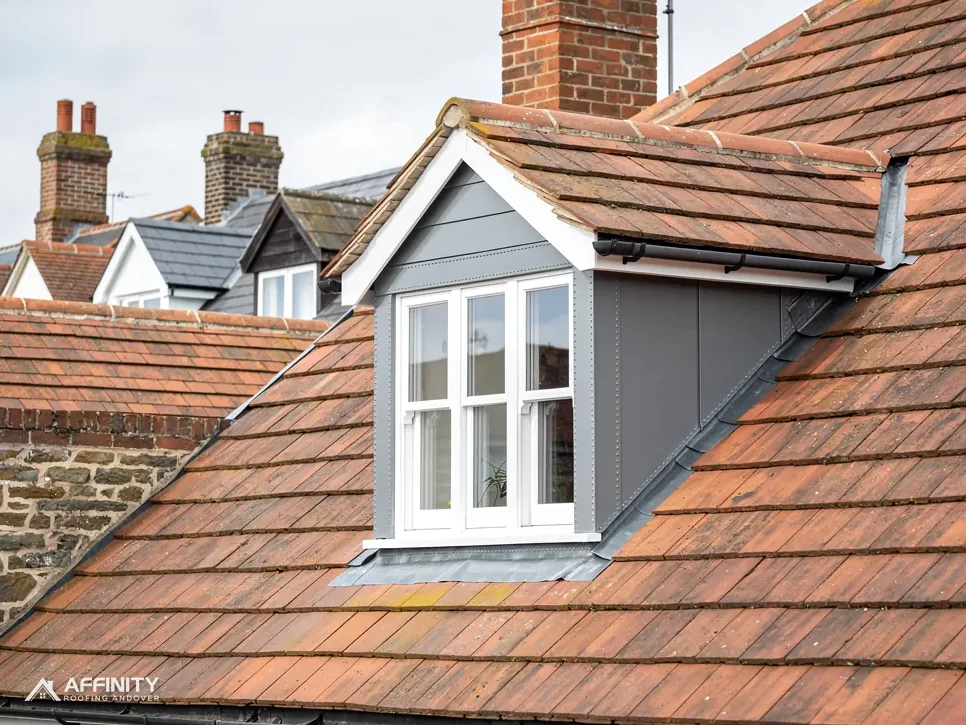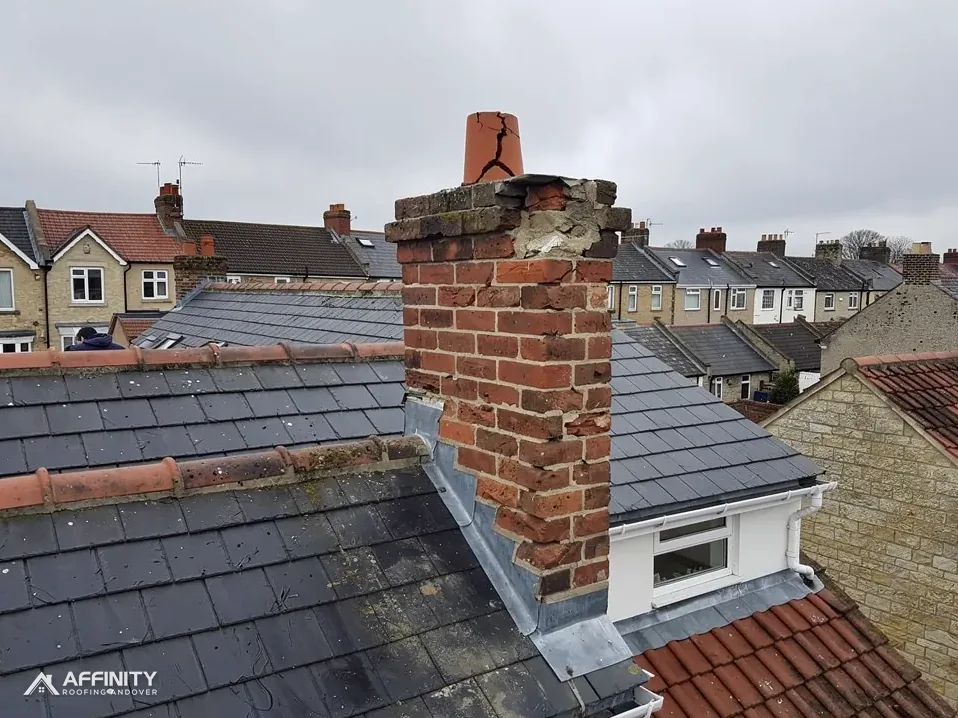
Walk along almost any street of older houses and you will see it: a thick grey or black bead of sealant running along the top of a lead flashing where it meets a chimney or a wall. Someone had a leak, reached for a cartridge and made it stop. For a while it did.
The trouble is that a lead flashing does not work by being stuck to the brickwork. It works by being formed into a groove cut in the wall, held there by wedges, and dressed down over the roof covering so that water runs off it. Sealant sits on the surface of that arrangement and tries to hide a gap. When the weather moves the lead, as it does every day, the bead stretches, tears and lets go.
This guide describes the failed quick fixes we see around chimneys and walls on roofs around Andover, shows what a proper repair consists of, from the chase to the wedges and the dressing, and explains how to tell when a flashing needs replacing and not another attempt with the tube.
How a lead flashing is meant to work
Understanding the design makes it obvious why sealant cannot replace it.
The three parts
First comes the chase, also called a raggle. It is a groove cut into the masonry, either by raking out a mortar joint or by cutting a slot with a disc. Second comes the lead itself: the top edge is turned into the chase and the rest is dressed, which means shaped by hand with a mallet and dresser, down over the roof covering. Third come the wedges, small strips of lead pushed into the chase to hold the turned edge in place. The groove is then pointed with mortar or filled to shed water from above.
Why shape beats glue
Each part works by geometry. Rain that runs down the face of the wall meets the turned-in lead and is directed over the roof, because the wall above the chase can never let it behind the metal. Wedges keep the lead tight and let it flex. No adhesive is involved, so there is nothing to age or peel.
The standards behind it
Approved Document C, which covers moisture in the Building Regulations guidance, says recommendations for lead are included in BS 6915 (para 6.9). Lead is a long-lived material when it is detailed this way. In MyJobQuote's guide, lead flashing can last for over 80 years, a floor for the figure rather than a pledge.
Our lead roofing page shows where those joints occur on a typical house.
The quick fixes we find on failing roofs
When we lift the cover of a leak at a chimney or an abutment wall, a few patterns can show.
Sealant along the top edge
This is the first pattern. A bead of silicone or mastic is run along the line where the lead meets the brick. Within a year or two it shrinks, cracks or loses its hold on the masonry, and water runs behind it. Because the sealant hides the joint, the leak gets worse before anyone notices.
Roofing tape and bitumen strips
Self-adhesive flashing tape and black bituminous paste get used the same way, stuck over a lead flashing or in place of one. They are meant for specific, supported applications and not for covering a failed lead joint. Sunlight and movement break them down, and they leave a sticky residue that makes the later proper repair slower.
Cement fillets
Some old repairs replace lead with a sloped band of mortar at the junction. Mortar cracks as the roof and wall move at different rates, and rain runs into the crack. A fillet may last for a while on a very sheltered wall and then fail all at once.
Layers of paint and bitumen on the lead
Thick paint on the metal cracks and flakes, and it is often applied after the sealant has failed, as one more attempt to cover the trouble. It does not make the flashing waterproof, it hides the condition of the lead beneath, and it must be removed before a survey can judge the metal.
Why sealant fails at movement joints
A roof and the wall beside it do not move in the same way. They warm and cool at different rates, and the timber, tile and masonry swell and shrink through the seasons. A flashing is the joint that has to take up the difference.
Movement
Lead is soft, and it expands and contracts as the sun comes and goes. A bead of sealant bridging the gap between lead and brick is stretched and compressed with every cycle. Most sealants will cope with a certain amount of that, and an exposed roof edge gives them more than they can handle. Over the seasons the bead splits at its weakest point, often at the thin edges.
Adhesion
Sealant relies on sticking to both surfaces. Old brickwork is porous, dusty and often damp, so it is a poor surface to bond to. Lead itself is not an easy surface either, because the oxidised film on its face gives sealant little to grip. The bond fails at the brick edge or the lead edge first.
Water behind the bead
When sealant lets go, it holds water. Rain that enters at the split cannot drain, because the bead remains in place to trap it against the wall. That is why a sealed joint can leak more than an open one, and why the damp it causes often reaches the roof timber before it reaches the ceiling.
The answer is a flashing built to move, not a seal built to resist it. Think of a door hinge: it works because it is meant to turn, and a bead of glue across the gap would only snap.
Where it shows first
The first sign is often at the corners of a stack, where two faces meet and the sealant has to turn through a right angle. Corners take the most strain, and they are where the bead pulls away from the brick. Stains on the chimney breast inside the house, or a damp patch in the loft near the stack, can appear weeks before anything is visible from outside.
What a proper repair looks like
A true lead repair follows the order in which the flashing is meant to be built, and it starts by finding out what has actually gone wrong.
Look before touching
We check whether the lead is sound or split, whether it has slipped from the chase, whether the wedges are missing and whether the pointing has failed. The photographs from this stage show you the same things we saw.
Clear the old work
Any sealant is cut and scraped away, and loose mortar is raked out so the chase can be seen. If the old lead is thick enough and unbroken, it can sometimes be freed, re-dressed and re-wedged. If it is cracked, thin or patched, it is replaced.
Re-form the chase and fix the lead
A damaged chase is cleaned and re-cut where necessary. New lead is turned into it, dressed closely over the roof covering below and fixed with lead wedges at close intervals. The chase is then pointed, in mortar that matches the wall, so the groove cannot collect water.
Choosing the code
Royston Lead's cast-lead brochure shows code 3 for soakers only and codes 4, 5 and 6 for flashings. We select the code on site according to the detail and the exposure, and name it in the written price.
A repair that hides the leak is not a repair. Ask your roofer to show you the chase, the wedges and the dressing.
When to replace and not repair
Re-dressing is cheaper than replacing, but only when the lead is fit for decades more service.
Signs the lead has had its day
Look for splits along the creases, thin patches where the metal has worn like an old coin, pinholes, and lead that has crept away from the wall. Sealant over lead that is already cracked only adds to the pile of later work. Our answer on why lead splits explains the common causes.
Signs the wall is the problem
Sometimes the lead is sound and the masonry has gone. Crumbling mortar, spalled bricks or a cracked stack will not hold a flashing, however well it is made. The brickwork has to be repaired first, and the chase re-cut into sound material.
What replacement costs
MyJobQuote gives full chimney leadwork as between £350 and £920, with scaffold the main swing (22 September 2026), and around £540 for a full valley replacement (7 September 2026). Both are typical UK figures for lead alone, and they sit alongside the cost of a failed patch repeated every year or two. Our lead flashing cost guide explains the figures.
One price after the survey
You receive a single written price once the survey is done, so you know before work starts whether the answer is a re-dress or new lead.
If sealant has been used on your roof already
Finding a bead of sealant on your own flashing does not mean the roof is beyond help. It does mean the roof deserves a proper look, and the sooner the better, because the sealant may be holding damp against timber that cannot be seen from outside.
What to do now
Leave it alone for the moment and avoid adding another layer. A second bead over the first only makes the removal harder. Check the loft below the flashing for damp, and take photographs of anything you find.
What the survey will tell you
Where it is safe, we lift the edge of the sealant, inspect the chase and the wedges, and photograph the condition of the lead underneath. The report states whether the flashing is worth saving. It also shows whether the sealant has trapped water and caused damage to the roof timbers, which is a separate problem.
Planning permissions
A like-for-like repair in lead rarely changes how a building looks, so it seldom needs planning permission. If your house is listed or lies within a conservation area, raise it with the planning team at Test Valley Borough Council before the material or the detail changes. Works affecting a listed building's character need listed building consent.
Do-it-yourself repairs
Fitting lead flashings involves working at height on masonry and tiles. The roof is not a place to experiment, and scaffolding is often needed. Our short answer on replacing lead flashing yourself sets out the risks and the tools involved.