Most building jobs add something to a house. Foam removal takes something away, from the awkward space between the rafters, and it must not hurt the roof it was sprayed onto. The work happens mostly out of sight, in a loft, so owners often have little idea what it involves until a crew turns up with dust sheets and boards.
The order matters. A survey comes first, so there is a record of what was there. Then protection for the house, so the rest of it stays clean. Then careful removal, one section at a time, with a pause to inspect the roof structure as it appears. Repairs follow where they are needed, then a clean-down, then a written and photographic record that a surveyor or lender can read.
This guide describes each stage, how to prepare and what you receive. It is a general account. Your loft has its own foam type, access and timber, and the survey sets out how those shape the plan for your house.
Survey and photographs before anything is touched
Nobody should cut into foam without a clear record of how it looked beforehand.
What the survey covers
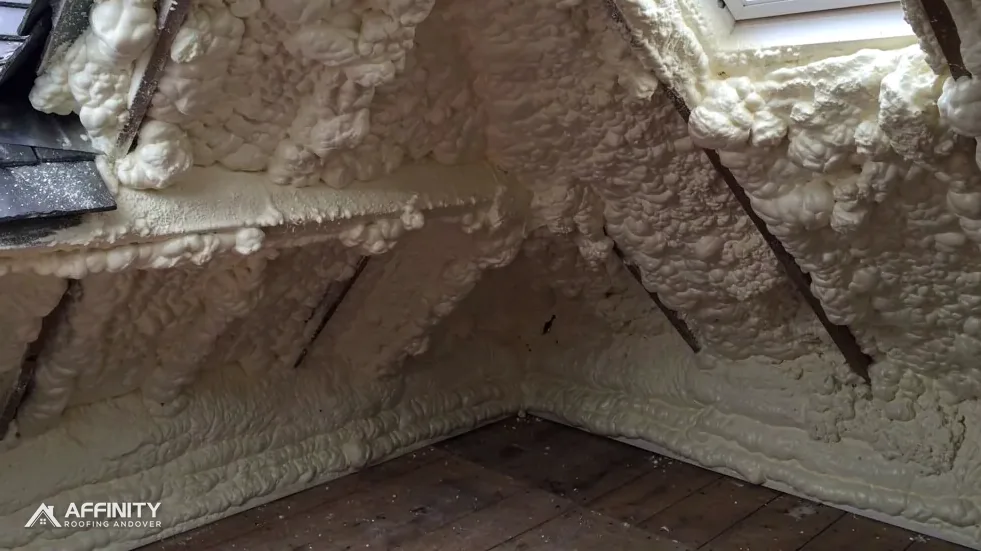
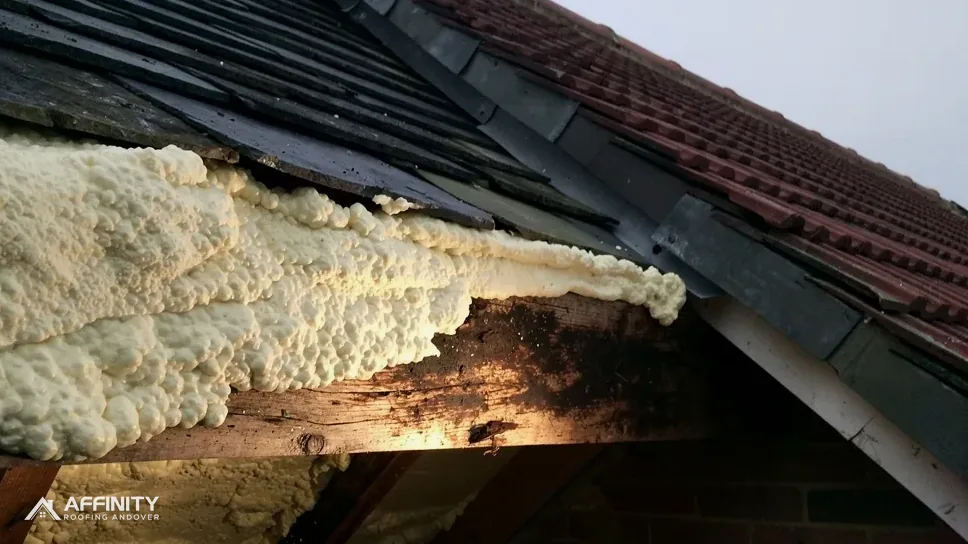
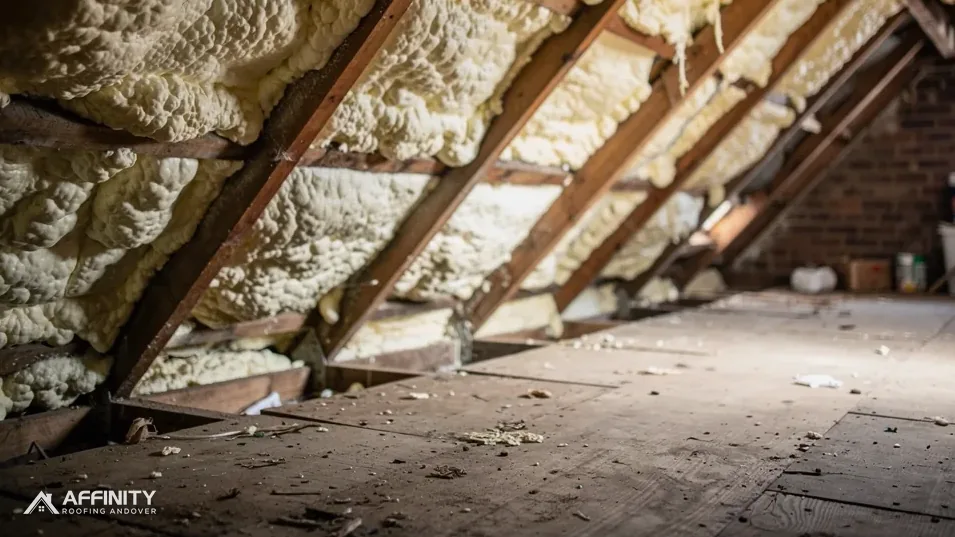
The surveyor goes into the loft and notes how much foam there is, where it sits and which type it is. Open-cell foam is soft and gives under a finger, closed-cell is rigid and does not. The visit also records whether the foam stops short of the eaves, whether it wraps a chimney stack or roof window and whether tiles or slates outside look loose.
Photographs
Dated pictures of every slope are taken from the hatch and from each bay that can be reached. They are the baseline for the later pictures, and they open the record you receive.
What a survey cannot show
Behind the foam is simply out of reach. RICS says as much in its consumer guide: timber under spray foam is hidden. So the survey estimates the range of likely outcomes, and the removal resolves them.
Paperwork
Hand us the installation invoice, product details and any note from a lender or surveyor. They tell us what to expect and what the record must answer. Our guide to what a spray foam survey covers goes through the visit.
Out of the survey comes a plan of work, including which bays will be tackled first, how the waste will leave the house and whether any repairs are likely. Ask for the plan in writing, and read it with the photographs beside you so each step is clear before anything starts.
Getting your home ready
A little preparation on your side speeds the job and keeps the cost down.
Clear the loft
Stored items near the work need moving or an agreed resting place. Boxes, suitcases and old tank jackets are the usual obstacles. If lifting them is hard for you, say so at the survey.
Check the hatch
Everything has to pass through the hatch: the crew, their equipment and the bagged waste. A small hatch does not stop the job, but it alters the plan and the timing, so we measure it on the first visit.
Plan the route
Think about the path from front door to landing. Lift fragile ornaments off shelves and roll up loose rugs. Rooms under the work are covered if dust could reach them, though moving valuables is still wise.
Parking and pets
A van needs to stand near the door while waste bags are carried out. Keep pets in a room well away from the stairs, because people with full arms do not watch their feet.
Telling the neighbours
A van outside for a few days and bags on the drive can prompt questions. A quick word with next door avoids worry, especially if a shared party wall runs through the loft.
Staying put
The work is confined to the loft, so staying in the house is normally possible. The landing will be sheeted for part of each day, and you will hear scraping overhead. Mention shift workers and anyone who needs quiet at certain hours.
Protecting the house and setting up
The first morning is mostly protection. The foam stays untouched until the loft and the route through the house are ready.
Sheeting
Plastic sheeting goes over the hatch and the landing below it, so dust and flakes cannot fall into the rooms. Carpets along the route to the van are covered too.
A safe platform
A loft ceiling is thin plasterboard that cannot take a person's weight. Boards are laid across the joists to give a working platform, and everyone stays on them. In lofts with little headroom, the boards also set the working height.
Light and breathing
A strong, even light is rigged so each rafter bay shows clearly. A rushed inspection by torch is how problems get missed. Crew members wear protective clothing and breathing protection, since foam dust is unpleasant to inhale.
A route for waste
An agreed system moves bagged foam from loft to van. It follows the protected route, and the crew tidy as they go. Nothing is left to pile up in the loft over a weekend.
The daily plan
Each morning you hear what is scheduled for the day, so there is no guessing when the hatch will be open or the landing free.
| Stage | What happens | What you notice |
|---|---|---|
| Survey | Loft inspected and photographed | One visit, a torch and a ladder |
| Set-up | Sheeting, boards, lighting | Landing covered |
| Cutting back | Foam removed bay by bay | Scraping overhead, bags on the stairs |
| Inspection | Timbers and underlay examined | A call or visit to see photographs |
| Making good | Small repairs, tiles refixed | Some noise from outside |
| Clean-down | Waste and sheeting cleared | House returned to normal |
Cutting the foam back, one bay at a time
The cutting is slow by design, because haste is what breaks roofs.
Where to start
Crews begin beside the hatch and move away from it, taking one bay between rafters at a time. The area behind them is clean enough to inspect before the next one is started, which keeps the work orderly and the mess contained.
The tools
Hand tools and scrapers do almost all of the cutting. Soft open-cell foam usually releases in blocks that lift off the timber. Rigid closed-cell foam needs patient cutting and scraping in small pieces because it is bonded to the rafters and the underside of the covering. Our guide to open-cell and closed-cell foam explains the difference.
Near the covering
The delicate zone is the underside of the tiles or slates and the battens. A heavy hand cracks a tile, tears the underlay or drags out a nail. Here the crew work in short strokes and check the covering as they go.
What stays on the wood
A thin film may remain in the grain after cleaning, which is normal. The aim is bare enough timber for a surveyor to assess each rafter and batten.
Bagging
Pieces go into bags as they come away, so the loft never fills with loose fragments, and the bags are carried down by the protected route.
Pace and patience
It is common for owners to expect a foamed loft to clear in an afternoon. A proper job takes longer than that, because every bay is cleaned, inspected and photographed before the next is started. The time spent at this stage is what makes the record worth having.
The pause: looking before repairing
The key moment arrives when the first bays are clear. Everything stops, and the crew look.
What gets examined
Rafters, battens, nails and underlay are checked as each comes into view, and each is photographed. The inspection looks for softness, staining, cracks, rusted fixings and torn or crumbling underlay. Our guide to checking roof timbers after spray foam removal lists the points.
The air path
The eaves are checked to see whether foam closed the gap that lets air in, and the underlay type is noted. Marley's guidance, resting on BS 5250:2021, asks for a 25 mm eaves gap where the underlay is non-breathable and the pitch is 15 degrees or below, and 10 mm on anything steeper. Under a certified breathable membrane, with a well-sealed ceiling, 3 mm of ordinary eaves construction can be enough.
When the job changes
If a rafter turns out to have gone soft, or the underlay has failed across a whole slope, work stops and you see the pictures. A discovery like that can turn a removal into a repair, or a partial re-roof, and you choose the next step knowing what the timbers look like.
Recording as they go
Each finding gets a picture taken where it sits, with a note of which bay and which rafter it belongs to. Later, a surveyor reading the record can match a picture to a position in the loft without guessing.
Tiles that move
Where a tile loosens as foam is cut away behind it, the answer is to refix it or fit a new one from outside before the crew leave.
Clearing down and the record you keep
The last stage matters as much as the first, since it decides what you are left with.
Small repairs
Minor faults found in the inspection are put right while the crew are there: a cracked batten swapped, a torn section of membrane sealed, a few tiles refixed. Bigger repairs are agreed with you first. Our spray foam removal page explains how repairs and re-roofing fit in.
Clean-down
The bagged foam is taken away, the loft is brushed and vacuumed and the sheeting is lifted. The hatch is closed and the landing returned to you as it was.
Your record
You are given dated photographs from the start, the middle and the end, written notes on the condition of the rafters, battens and underlay and any repairs, and a description of the eaves ventilation left in place. A surveyor can read it and a lender may ask for it.
Insulating again
With the foam gone, the loft is colder than before. It should be insulated again so the roof can still dry, and building control may be involved, so we explain the options before the job closes.
Following up
Look through the record before the crew leave, and ask about anything you do not follow. If you have a surveyor's or lender's note, we check that the record answers its points. Keep the paperwork with your deeds, and pass it to a future buyer.
Your lender
RICS points owners to their own mortgage provider for its policy. We hand over the record, but nobody can promise what a lender will decide.