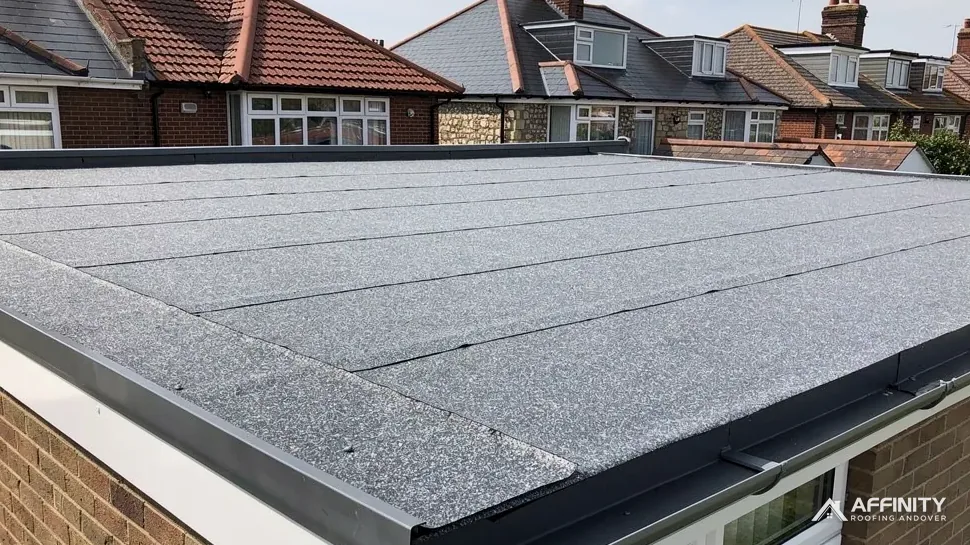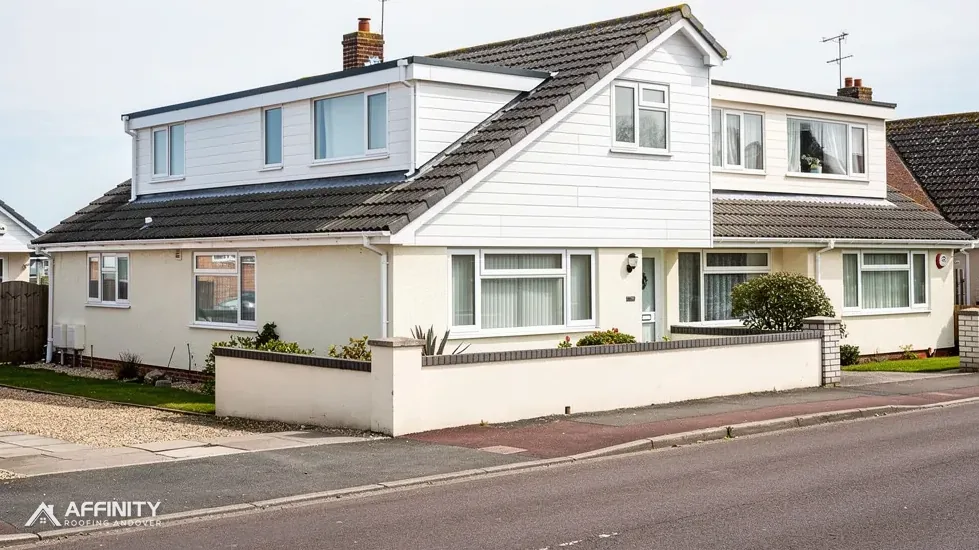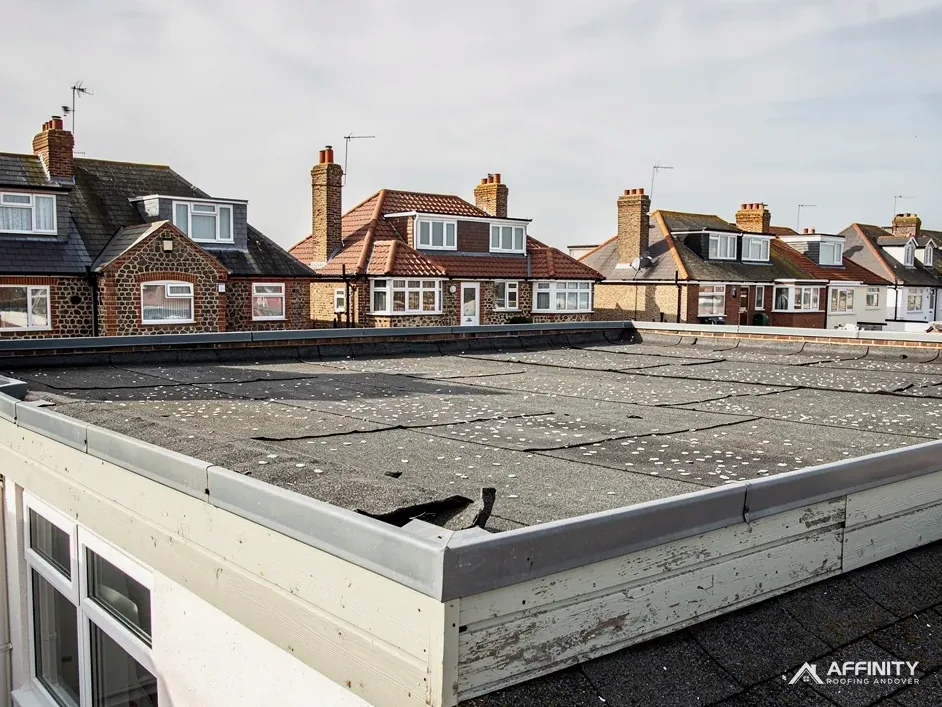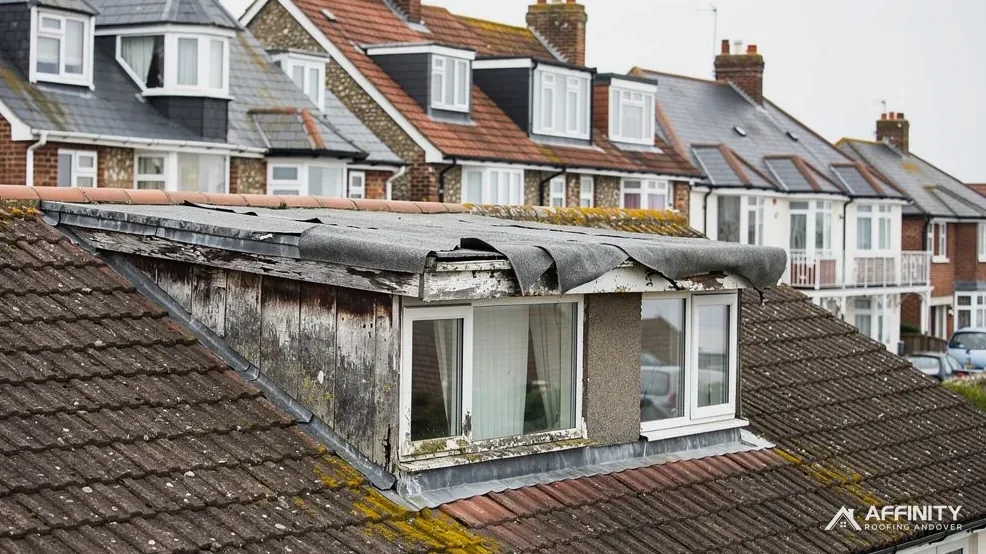
A dormer is a small structure that projects from a sloping roof to give a loft room headroom and a window. Many have a flat top covered in felt, rubber or fibreglass, with side walls called cheeks that are clad in tile, slate, lead or timber. The result is a small flat roof perched on a large pitched one, with a ring of junctions around it.
That is a demanding position. The roof area is small, so there is little room for a generous slope. The flat top meets the cheeks, the front face and the main roof at four separate edges. Rain runs off the main slope onto the dormer's sides and gathers at the corners. Every joint offers rain a possible way in, and each depends on a strip of metal or membrane formed on site.
This guide explains how a dormer flat roof is built, why it leaks, what the Building Regulations say about replacing one and how the work is reached. It belongs to our flat roofing service and is written for owners of loft conversions and older houses with dormers.
Why dormer tops are so prone to leaks
Most dormer roofs fail at their edges. The covering across the middle may still be sound while water gets in at a corner, a cheek or the front edge. Four features make this likely.
A small area with many edges
The ratio of edge to surface is high. A garage roof has four edges around a large middle. A dormer top has the same four edges around a patch the size of a double bed, so a larger share of the roof is junction. Junctions are where waterproofing is hardest to keep tight.
Movement at the joints
The dormer and the main roof move differently with temperature, load and moisture. Flashings and upstands have to cope with that, and rigid sealant or stiff old felt cracks. Over a few winters, hairline gaps open, and sealant added on top only hides the opening for a season.
Debris and shade
Leaves, moss and bird droppings collect on a small roof and block the one outlet it has. Standing water then sits against upstands that were designed to shed it. Shade from the main roof keeps the surface damp, which speeds up moss and algae and leaves the covering slippery to anyone who has to step on it.
Hard to see, hard to reach
A dormer top is usually out of sight from the ground and inconvenient to reach, so problems go unnoticed until water appears inside. A guide to the signs that a flat roof is failing lists what to look for from a window or the loft before it comes to that.
Falls and outlets on a table-sized roof
Every flat roof needs a fall, a slight slope that moves water to an outlet or gutter. On a dormer the fall has to be built into a small area, and that makes errors stand out.
What the standard says
BS 6229:2025 is the present British Standard for flat roofs finished in flexible waterproof sheet, and it replaced the 2018 edition. Its minimum finished fall for general areas and internal gutters stays at 1:80. IKO's advice is to design for 1:40, so the roof is still at or above 1:80 once the deck has settled and the covering is down. The standard covers membranes only, so it does not govern a roof of lead sheet, which follows BS 6915 as referred to in Approved Document C.
Where the water goes
A dormer top usually falls towards the front, to a gutter along the lower edge, and sometimes to a hidden outlet at one corner. The route must stay clear of leaves and must not run towards the main roof, because that is where the cheeks and the junctions are. A fall in the wrong direction means water is held against the vulnerable edge.
Ponding
Small roofs show ponding clearly. A shallow pool that stays for a day after rain means the fall is too slight or the deck has sagged. Our answer on the minimum fall on a flat roof explains the numbers.
Cheeks, upstands and lead
The cheeks are the side walls of a dormer, and the joint between each cheek and the flat top is a leak position to check first. Three parts work together there.
The upstand
The roof covering is turned up the face of the cheek, forming an upstand, a short vertical return that stops water running behind it. The height and finish of the upstand decide how well it resists driving rain and standing water.
The flashing
A strip of lead sheet, tucked into the cheek and dressed over the top of the upstand, covers the joint. Lead is the traditional metal for the job, and on MyJobQuote's page lead flashing is credited with a life of over 80 years, a floor rather than a pledge. The Royston Lead brochure lists lead codes 4 to 8 as suitable for dormers, with the weight chosen to suit the detail and the exposure.
The cheek itself
Where a cheek is hung with tiles or slates, the lead sits behind them and the soakers, small bent metal pieces, are interleaved at each course. Lead-clad cheeks run in sheets with joints that must be formed and fixed correctly. A weak cheek lets water into the room beside the window.
Lead standards
Approved Document C refers to BS 6915 for lead. The lead supplier or the Lead Sheet Association manual gives the rules for sheet length and fixings, and a dormer cheek that follows them will outlast one improvised on the day.
Part L and replacing a dormer roof
A dormer is part of the thermal envelope of a loft room, so replacing its roof can bring Part L into play.
Renovation
Approved Document L (2021 edition) counts a new waterproof membrane over a flat roof as renovation of a thermal element. Under Table 4.3, an existing roof with a U-value worse than 0.35 W/(m²·K) should be improved to 0.16 if the improvement is technically and functionally feasible, and if it would achieve a simple payback of 15 years or less, as paragraph 4.13 sets out. Where it does not, the best feasible value is used, generally no worse than 0.7.
Dormers specifically
The Table 4.3 note says that for dormer windows, roof includes the roof parts of the windows. In plain terms, a dormer's roof and cheeks are treated as part of the roof for these purposes, and the insulation question includes them.
New dormers
Building a new dormer is a different matter. Class B of the planning rules sets volume limits of 40 cubic metres for a terrace house and 50 otherwise, bars an extension beyond a roof slope that fronts a highway and does not apply on article 2(3) land, which includes conservation areas, National Landscapes and National Parks. Check with Test Valley Borough Council's planning team.
Which edition applies
Approved Document L 2026 takes effect from 24 March 2027, so the version that governs your job depends on when it is submitted. Ask your building control body which applies.
Scaffold and access to a high dormer
A dormer sits partway up the roof, often on the front or back of a two-storey house, which can put its top at eaves height or above. Reaching it safely is part of the job.
From a ladder, tower or scaffold
A low dormer on a bungalow roof may be reached from a ladder and roof ladder. A dormer high on a two-storey house calls for a scaffold or a tower, with edge protection, because the work involves lifting materials and handling hot or wet products over a drop. A ladder on its own is not a safe way to do this work.
Where the scaffold stands
Should the scaffold stand on the footway or road, Highways Act 1980 s169 brings in the highway authority. For an Andover address the licence comes from Hampshire County Council, which charges £211.90 on application for the first 2 weeks and £72 for each further 2-week period. Scaffold kept inside your own boundary falls outside that licence.
Protecting the rest of the roof
The main roof is protected while the work goes on, because walking on tiles and slates breaks them. Boards and ladders spread the load, and any damage found is shown to you rather than hidden.
Fire and heat
If a torch-on felt or a heated product is used, the work is planned around the timber beneath and the loft, and someone stays to watch the roof after the last flame is out.
Survey, repair or replace, and what sets the price
We survey a dormer from the inside as well as the outside, because the loft room shows leaks that the roof hides.
What we check
We look at the covering for blisters, splits, ponding and soft spots underfoot, the outlets and gutter for blockage, the cheeks for open joints and the lead for lifting or cracking. Inside, we check the ceiling and reveals for stains and soft plaster and the window head for damp. Photographs go to you.
Repair or replace
A single failed flashing or a split along a seam can be repaired. A deck that has soaked up water, a covering that has failed across the roof or a fall that sends water the wrong way calls for a new roof. Replacement lets the fall, the insulation and the upstands be put right at the same time, which patching cannot. Our answer on what happens if the decking is rotten covers the point where repairs stop making sense.
What sets the price
The size of the roof, the covering, the amount of lead, the condition of the deck, the number of cheeks and the access all matter. HomeBuilding gives EPDM 25-30 years and Less 30 to 50 years, and GRP 25-30 years from HomeBuilding and 25 to 40 from Less, so lives vary. The written price follows the survey.
Next step
Photograph the dormer from outside and any ceiling stain inside, then send both with a note of when it leaks.
Afterwards
Once a dormer roof has been renewed, a quick look twice a year is enough: clear leaves from the outlet, check that the gutter runs freely and glance at the lead where it meets the cheeks. A small roof that is kept clear drains properly, and that keeps the junctions working as designed.