Hipped roofs, where all sides slope inwards instead of ending in a vertical gable, are common on bungalows, corner houses and extensions. Down each outward corner runs a hip: a sloping line of special tiles that cover the join between two roof planes. On most older roofs those tiles were bedded in mortar.
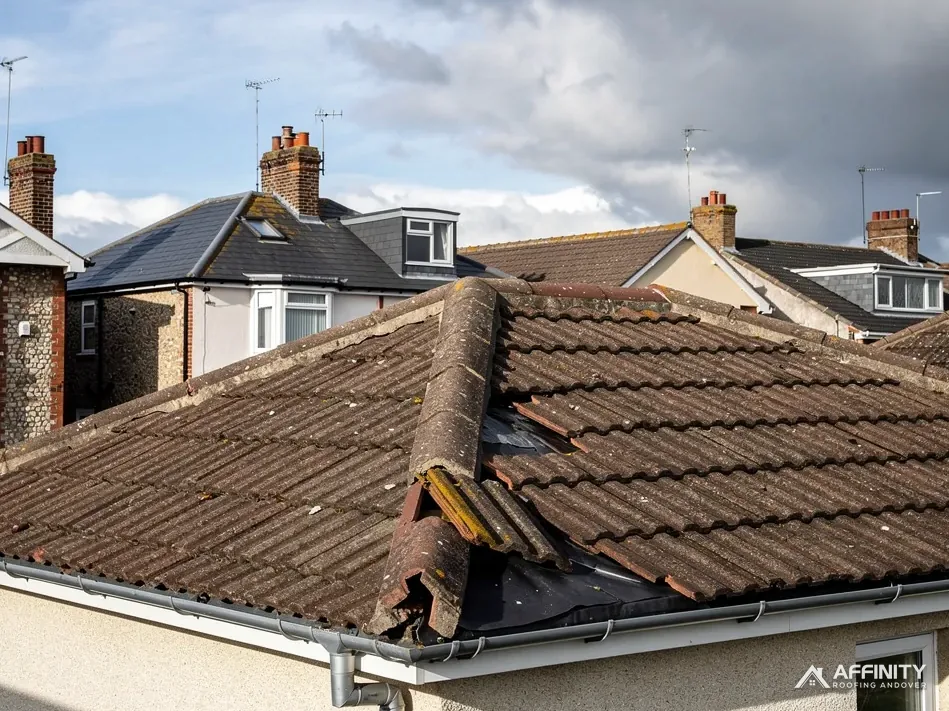
A hip has a problem a ridge does not. A ridge tile sits level and is pushed sideways by wind. A hip tile sits on a slope, so gravity is trying to slide it downhill all the time, and every winter the mortar beneath it is stressed by frost and movement. When the bed cracks, the tiles can creep, tilt or fall.
A dry hip system tackles this with a hip roll, a batten, clips and screws, and a small metal bracket called a hip iron at the foot. This guide describes each part, how they fit together and when a repair is enough. It belongs to our dry ridge and dry verge service, and is for anyone who has noticed a slipping hip tile.
Why the hip is the awkward corner
Look at a hipped roof from the garden and you can see the hip as a bumpy diagonal line from the ridge, or the top of the roof, down to the eaves. The tiles covering it are arched or angled, and each one overlaps the next in a long chain.
Load and slope
Each tile on a hip rests partly on the tiles beside it and partly on whatever is underneath. Down a slope, every tile in the chain pushes against the one below it, so the lowest tile carries the push from the rest. If that lowest tile moves, the others follow.
Cuts and gaps
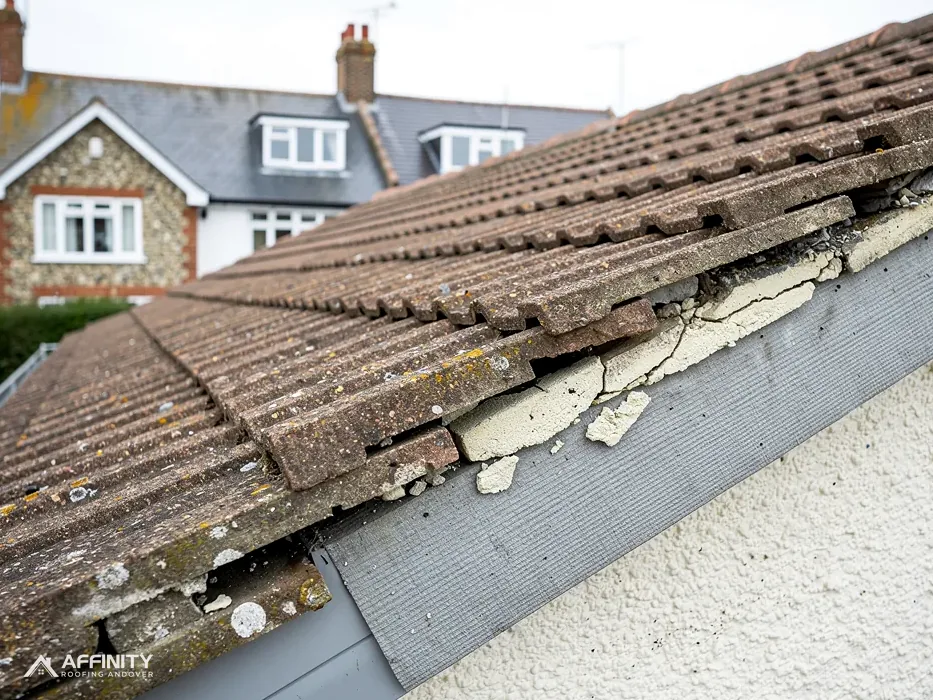
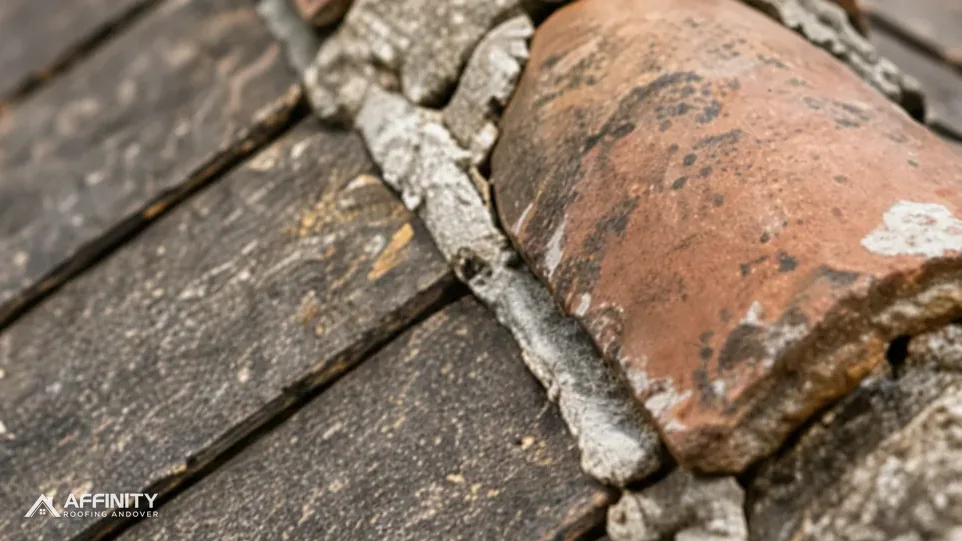
Where the flat tiles of each slope meet the hip, they have to be cut to fit the angle. Those cut tiles leave a tapering gap beneath the hip tile, which traditional work fills with mortar. Over time the mortar shrinks, cracks and lets rain and wind in. Marley reads the 2014 revision of BS 5534 as saying that mortar's grip on its own cannot be relied on for ridge and hip tiles, and a hip shows why: the weight sits on a bed that was never designed to hold it still.
Signs of trouble
A hip tile that has dropped below its neighbours, a gap at the top of the hip, loose mortar on the ground or in the gutter and a hip line that no longer looks straight are the common signs. Our guide to the signs that ridge or verge fixings are failing covers the signs of failure on all three edges.
Hip rolls and parts of a dry hip kit
A dry hip system replaces the mortar with a set of manufactured parts. Different makers use different names, but the layout is much the same.
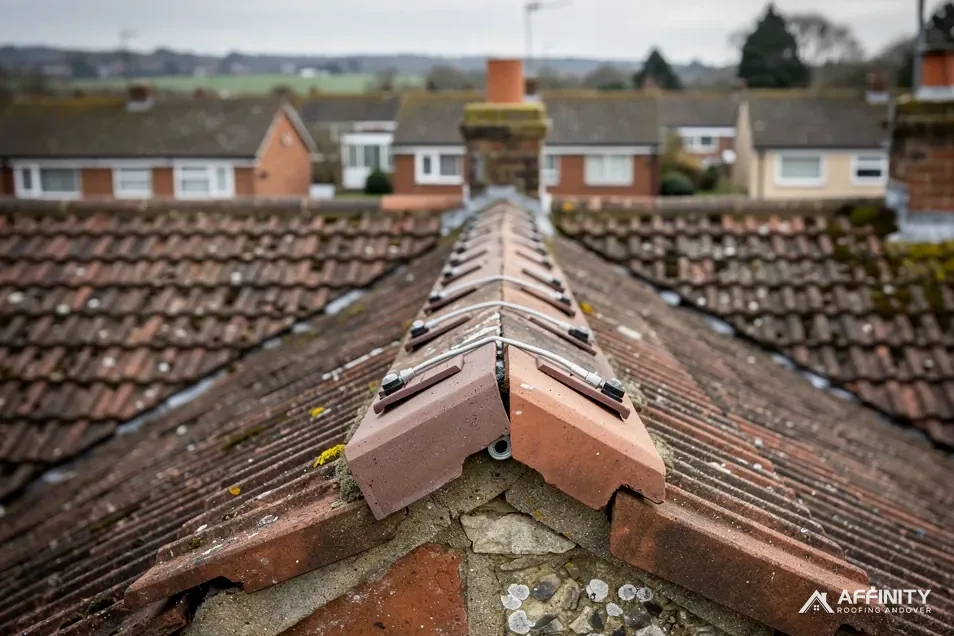
The hip roll
A hip roll is a flexible strip that sits under the hip tiles and bridges the gap between them and the roof slopes. It is usually made of a rubber-like or aluminium-backed material with a textured outer face, and some designs allow air to move through. The roll keeps out rain and wind-blown snow, where mortar would have done so, and it moves with the roof instead of cracking.
The batten and the fixings
A timber or metal batten runs along the line of the hip, fixed through the tiles into the hip rafter or a support beneath. The hip tiles rest on a clip or bracket system attached to that batten and are secured with stainless steel screws or nails. Each tile is held individually, so a failure in one does not bring down the others.
End pieces and finishes
At the top, where the hips meet the ridge, a special fitting joins the lines. At the bottom, the lowest hip tile is capped or finished to match the eaves. Many kits come with end caps in colours to match common tiles.
The standard
BS 8612:2018 sets the tests for dry ridge, hip and verge kits, and BS 5534:2014+A2:2018 is the code of practice for fitting them. Ask the supplier whether the kit states compliance with the first, and keep the data sheet with your job papers.
Hip irons: anchoring the lowest tile
A hip iron is a bent strip of metal, usually galvanised or stainless steel, fixed to the roof timber at the bottom of the hip. Its upturned end cups the lowest hip tile, and it stops that tile sliding downhill. We have a short answer on what a hip iron is, and this section explains why it matters.
The bottom tile carries the load
Because every hip tile pushes down against the one below, the lowest tile is the anchor for the whole chain. Mortar alone does not hold it still for long. A hip iron gives a mechanical stop that does not depend on mortar bonding, so the whole line of tiles is supported from the foot.
Old and new irons
Many older roofs have hip irons already, nailed or screwed to the rafter. Those that have rusted through or were fixed to a rotten rafter are of no use, and a hip that appears to have one may have nothing holding it. When we survey a hip, we feel for the iron behind the tile and photograph it if it is present. If it has failed, a new one is fitted with stainless fixings into sound timber.
On a dry hip system
A dry hip kit may include a hip iron or an equivalent bracket as part of its design, or the instructions may call for one in addition. We follow the manufacturer's instructions for the exact kit.
How a dry hip is fixed, step by step
A dry hip is a short job compared with a full re-roof, but it is exact. The order of work matters.
Removing the old hip
The old hip tiles are lifted and the mortar is chipped away. Mortar is heavy and brittle, so it is bagged for disposal and not swept into the gutter. The tile ends beneath are checked for chips, and the hip rafter below is checked for rot.
Preparing the line
The roof tiles on either side of the hip are cut to a clean line. This is the job that decides whether the finished hip looks tidy. Cut tiles must be supported along the line of the cut so that they do not rock. The batten is then fixed along the hip, to the specification in the kit's instructions.
Laying the roll and the tiles
The hip roll is pressed into place and secured, and the hip tiles are laid from the bottom up. Each tile is clipped or screwed to the batten and tapped into line, and a sealant or a slim bead of adhesive may be used at the joints where the manufacturer allows. The top tile is fitted to the ridge or to a special junction piece.
Checks at the end
We check each tile for movement, look along the line against the sky and clear all debris from the gutter. You receive photographs of the finished work.
Repair, re-bed or convert
Not every loose hip needs a dry system. The right answer depends on what the survey finds.
A single tile
If one hip tile has cracked or slipped and the rest are firm, it can be refixed or replaced. A mechanical fixing can be added for the repaired tile, and the mortar around it patched. This is the lightest option and often the right one. We say plainly when a single tile is all it needs, because a larger job is not always the better one.
Re-bedding with fixings
When the mortar has failed along the whole hip but the tiles and the hip rafter are sound, the hip can be re-bedded in new mortar with mechanical fixings added. This keeps the look of the original roof. Our guide on re-bedding ridge tiles sets out when this is enough.
Converting to dry hip
When the hip line is crooked, the tiles are broken, the foot has no iron or a gale has loosened several tiles, converting to a dry system is the longer-lasting answer. The existing tiles can often be re-used if they are sound, provided the system suits their profile. Where the tiles are weathered, new ones are best mixed along the line rather than set in one block, so the colour difference does not stand out from the road.
Consents
Listed buildings need listed building consent for changes that alter the roofline's character, and conservation areas may have extra rules. Check with Test Valley Borough Council's planning team. A like-for-like repair on a house is normally permitted development under Class C.
What the survey checks and what sets the price
A hip repair starts with a look at the whole run, from the foot to the ridge junction. We check from ladders at the eaves where it is safe to do so and from the loft side where the rafter is visible.
At the visit
We look at the bed, the hip tiles, the cut tiles on either side, the iron at the foot, the junction with the ridge and the rafter beneath. We test every hip tile by hand for movement, note the colours and profile for a match and photograph everything we find. If a hip rafter has rot, we show you.
Cost drivers
Cost follows the number and length of the hips, the pitch, the tile type and colour, whether the existing tiles can be re-used and how the roof is reached. Hips on a bungalow are simpler to reach than on a three-storey house, where a tower or scaffold is needed. For orientation, Which? puts a new ridge tile at £80 to £300 before VAT (Nov 2025), and MyJobQuote gives ridge replacement as between £225 and £550 (Oct 2026). They are typical UK ranges for roofs in general, and neither is specific to hips.
Access and tidy-up
Hip work produces mortar rubble, broken tile ends and packaging. We lay sheeting below the work, take the waste away and clear the gutters at the end so nothing is left to block them. You are told which day the work is planned for and what access we need.
Next step
If a hip tile has slipped, do not climb up to look. Photograph it from the ground, tell us the age of the roof and arrange a survey.