The short answer
Photograph the damage from the ground, from an upstairs window and inside the loft, never from the roof itself. Take wide shots that show where the damage sits, then close-ups of each defect, and shoot any fallen debris where it lies. The IStructE advises homeowners that photographs are vital for an insurance claim, since they give the insurer visual evidence of the damage.
Start from the ground
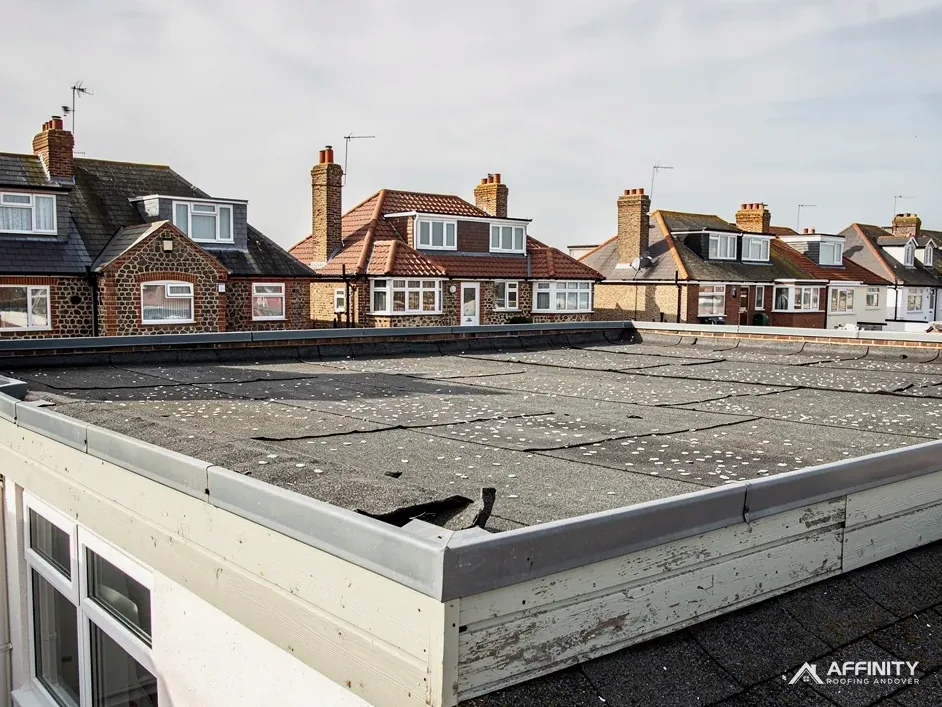
The safest and most useful photographs are taken with both feet on the ground. Walk round the house and photograph every side of the house, standing far enough back to fit a whole slope, with its ridge, chimney and gutter, into one frame. Wide views like these show a loss adjuster where the damage sits and what share of the roof it affects.
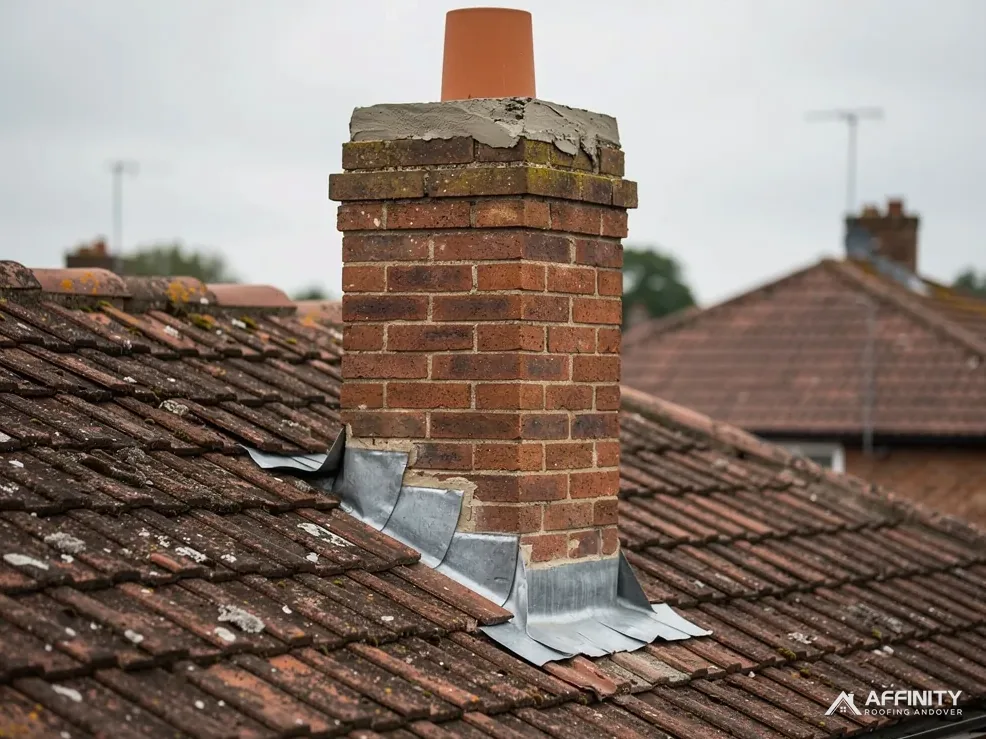
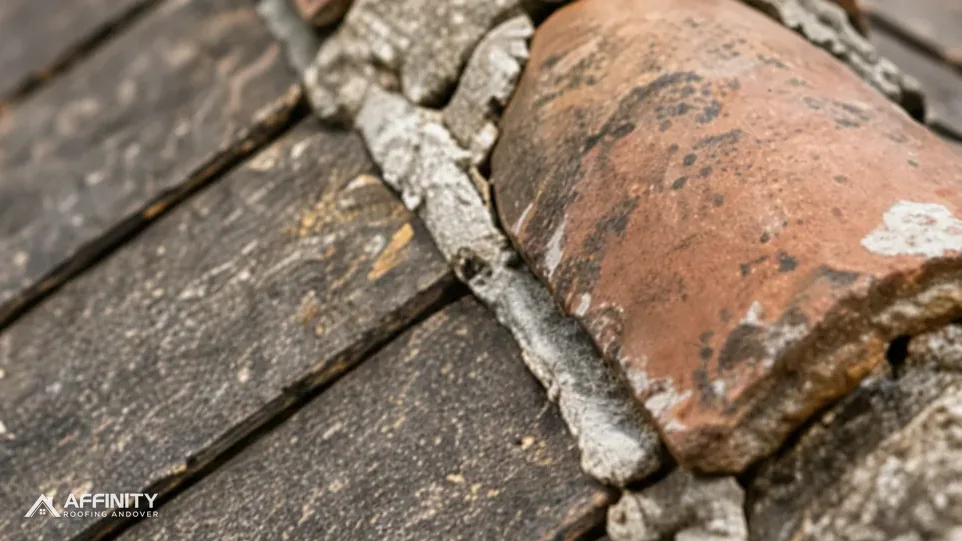
Then move closer. If a zoom lens or the zoom on a phone can pick out a slipped tile, a cracked slate, a bent flashing or a sagging gutter, photograph each one separately. Take two or three shots of the same defect from slightly different angles, because a blurred or badly lit picture is no use later.
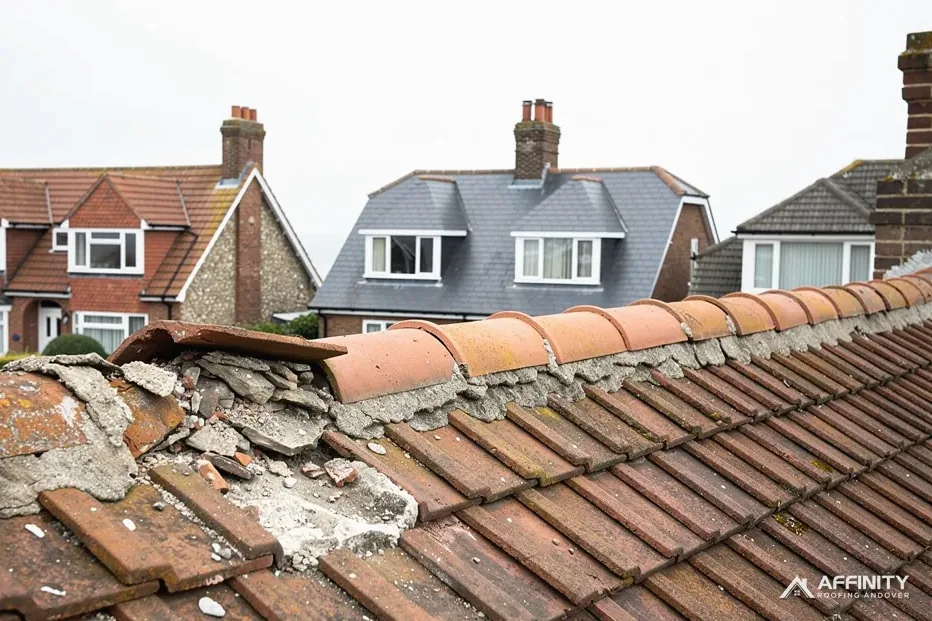
Look at what has fallen. Broken tiles on the drive, a branch lying across the lawn, a dislodged chimney pot or a length of fascia on the path are evidence of what happened. Photograph them where they lie, before anyone sweeps up, and keep the pieces if you can.
Resist climbing up for a better angle. A ladder leaning on a wet or damaged roof is dangerous, and an injury outweighs any picture. Our roof repairs survey takes the photographs that need height.
Inside the house and the loft
Damage to a roof often shows itself indoors first, so the inside record matters as much as the outside one. Photograph each stained ceiling, damp patch, bubbled paint or wet carpet, and include a wide shot so the room is recognisable and a close-up so the stain is clear.
The loft is where the story is told. With a torch and the hatch open, photograph daylight showing through the covering, wet or darkened rafters, soaked insulation, damp underlay and any drips or tide marks. If you can see the area above a ceiling stain, show the two in the same sequence of pictures so the connection is plain.
Put something in the frame for scale where it helps, such as a pen or a tape measure, but do not move anything that would change the scene. Photograph damaged belongings too, because they form part of what was lost, and note which room each one came from.
If water is near light fittings or wiring, keep away and switch off at the consumer unit. Our answer on a roof leak near a light fitting explains what to do. Never stand under a sagging ceiling to take a picture.
Keeping the record straight
Photographs carry more weight when they can be placed in time. Most phones stamp the date and time automatically, so leave that setting on and avoid editing or filtering the pictures. If you can, take a short video panning round each room and each elevation as well, and say the date aloud as you go.
Back everything up before the evening to a second place, such as cloud storage or email, and keep the originals. Name the files or an album clearly, for example by room or by side of the house.
Write a short note to sit alongside the pictures: when the damage was noticed, what the weather was doing and what you did to limit it. If there was a storm, note the date. Your policy may rely on its own storm definition, so a dated record helps show what happened.
Keep every receipt for temporary repairs, since those costs may form part of a claim. Which? reported that only 32 per cent of storm-related claims made in 2024 ended in a payout, which is a good reason to take the evidence seriously.
Telling the insurer, then the roofer
Tell your insurer first. Ask what it needs to see, whether it wants its own inspection before any work begins and how long it expects to take to respond. Policies tend to expect you to limit further harm, so a make-safe makes sense even before a claim is settled, provided the problem is photographed first.
Do not agree to permanent repairs until the insurer has responded, unless the roof cannot be left. The IStructE's storm-damage advice runs along the same lines: photograph, make safe and contact your insurer.
When you call a roofer, send the pictures with your message. A good survey adds a second set, taken at height, showing the defects up close with an explanation of cause. Our survey records each defect close up and explains it in plain words, so you have something clear to send on.
A roofer cannot tell you whether a claim will succeed, and should not hint at it. Photographs help your insurer grasp the loss, and they give you a record if a decision is questioned later. Our guide to storm damage and home insurance covers the next steps.