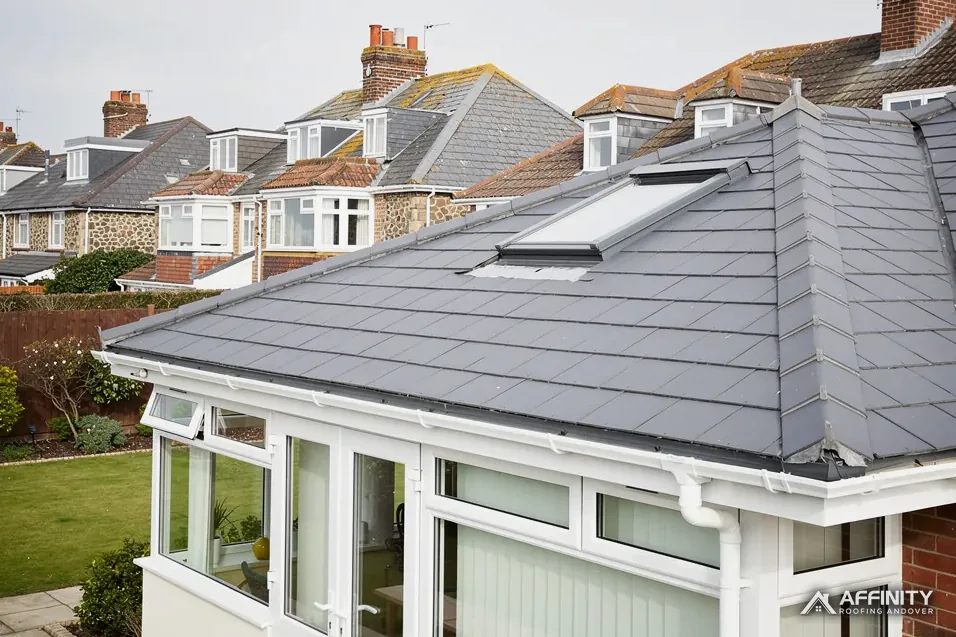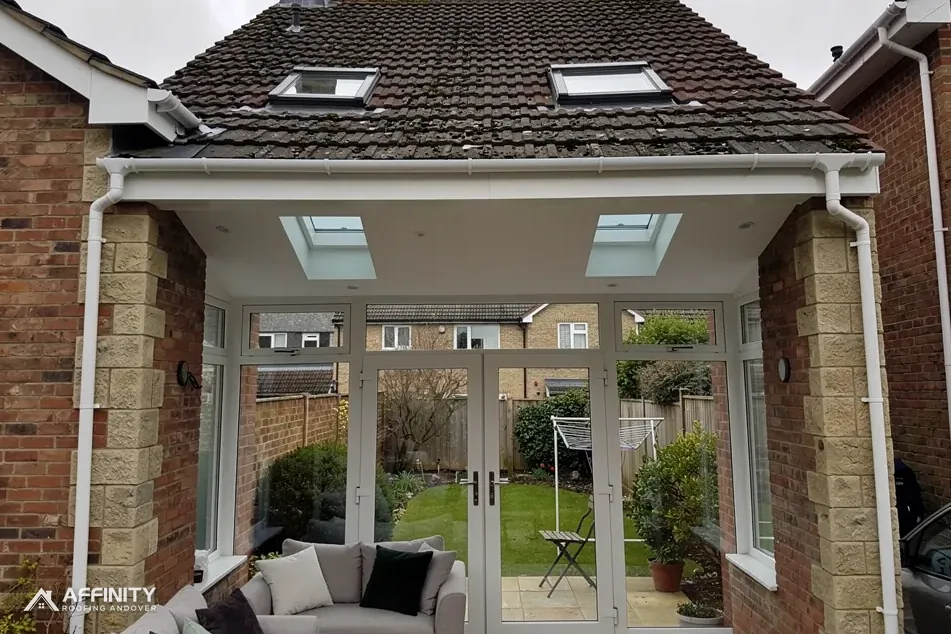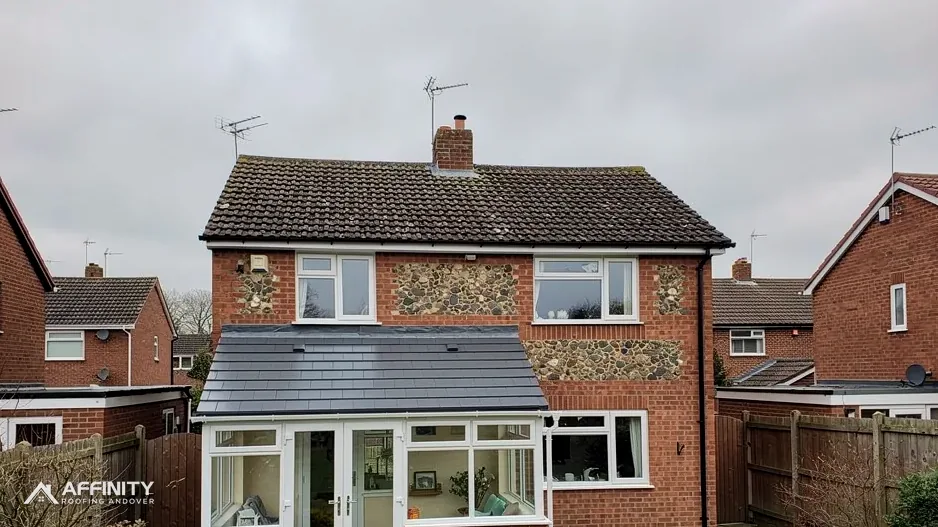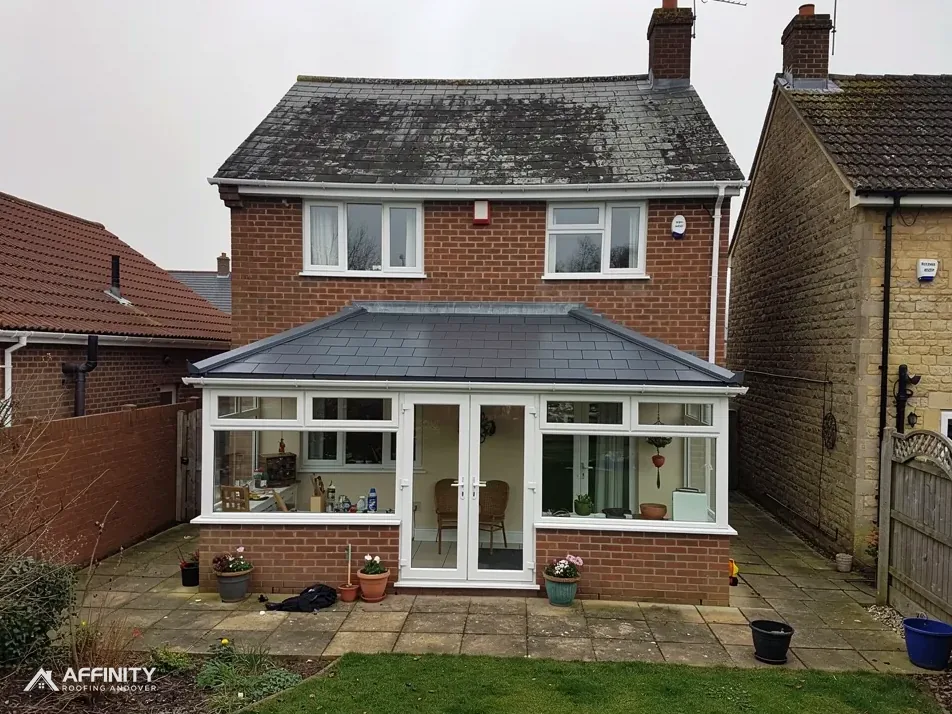
Most of a conservatory roof sheds water downhill without any fuss. The trouble comes where the roof stops and a brick wall begins. Rain runs down the face of the house, meets the roof and has to be turned away from the joint. If it can slip behind the roofing, it travels along the back of the glazing bars or panels and appears as a drip inside, or as a damp stain on the house wall that was supposed to be dry.
A flashing is what turns that water away. In its commonest form it is a length of sheet lead pushed into a slot in the wall and bent down across the roof edge. Some conservatories use a factory trim in aluminium or plastic instead. In both cases, the joint relies on careful fixing and on sealing that the weather works at every day.
Because the joint is high on a wall, it is easy to forget until water shows. This guide explains what the flashing does, how lead and trim systems compare, how and why they fail, what cavity trays and similar details in the wall have to do with it, and how a survey decides between a repair and a replacement. The detail suits owners who have a damp patch on the wall inside the room and want to understand it.
What a wall flashing does
The principle is simple. Water that runs down a wall must be kept from getting behind the roof at the point where the two meet.
The job in three parts
First, the flashing covers the top edge of the roof so that water running down the wall falls onto the roof surface and not behind it. Second, it is fixed at the top into the wall, in a chase or groove cut into the mortar, so that water running down the brickwork cannot slip in behind it. Third, it laps over the roofing below, so that water landing on the flashing drains onto the roof.
Why the joint is hard
The house and the conservatory move at different rates. The conservatory is a light structure on shallow foundations, while the house stands on deep ones. The wall expands and contracts with the sun and the seasons. A rigid seal cannot cope, which is why a flashing has to flex a little while holding fast. Wind drives rain up the face of the wall and under the edge. Birds and moss work at open edges.
The rule the Regulations set
Approved Document C asks roofs to resist precipitation reaching the inside (para 6.2), and expects every sheet and section to be fixed appropriately (para 6.8). Para 6.9 points to BS 6915:2001 for lead. A wall flashing is part of meeting that duty.
Our conservatory roofs page lists the repairs and replacements that involve this joint.
Lead flashing: the traditional answer
Lead has been used at wall junctions for centuries because it can be dressed into shape, stays flexible and lasts.
How it is fitted
A slot is cut along a mortar joint above the roof line, deep enough to hold a fold of lead. The lead is pushed into the slot, held with small lead wedges and pointed or sealed. The sheet then folds down across the roof's top edge, lapping the covering below. On a sloping roof that meets a wall, the flashing runs in steps up the slope, following the brick courses, or in a straight line where the wall is flat.
Codes and weights
Lead sheet is specified by code, which sets its thickness and weight. In Royston Lead's cast lead brochure, flashings are listed against codes 4, 5 and 6, with code 4 also used for soakers and the heavier codes for more exposed or demanding positions. Code 3 is for soakers only. The choice depends on the length of run and the exposure.
How long it lasts
On lead flashing, MyJobQuote's wording is that it can last over 80 years, and that figure is a minimum, not a guarantee of life. In practice the lead often outlasts the way it is held in the wall, so when a lead flashing leaks the fault is frequently the fixing or the pointing, not the metal.
Standards
For lead sheet work Approved Document C points to BS 6915:2001, and BS 6229 does not apply to lead.
Our answer on conservatory roof repairs shows how the flashing fits among the other common leak points.
Trim and sealant systems
Many conservatories were fitted with a factory-made wall trim instead of lead, and they behave differently.
What a trim is
A wall trim, sometimes called a wall plate or cover strip, is an extruded section of aluminium or uPVC that screws to the wall and sits over the top of the roof. A bead of sealant runs along the top edge where it meets the brick, and a gasket or seal runs along the bottom where it meets the roof. It is quick to fit and neat to look at.
Where trims are weak
The weak point is the sealant. Exposed to sun, frost and movement, it dries, shrinks and cracks. When it does, there is a gap along the top edge and water runs behind the trim. Fixings can loosen if the wall behind them is poor. The trim may not have been chased into the brickwork, so it depends entirely on the bead.
Maintaining one
A trim system needs its sealant renewed at intervals, and the inspection is simple: look for cracks, gaps and sealant that has pulled away from the brick. A fresh bead on clean, dry surfaces will often restore a trim that is otherwise sound. A trim that is bent, loose or poorly fixed is better replaced.
Trim or lead?
Lead is more durable and adapts better to uneven walls. A trim is lighter, quicker and cheaper to fit. Where a trim keeps failing, we often propose lead, and we explain why on the survey.
How the joint leaks and how to read it
A leak at the wall junction has a pattern, and the signs on the house wall tell you a good deal.
Signs inside the room
A damp stain on the wall plaster above the roof line, paint blistering along a horizontal band, salt marks or mould at the top of the wall, and drips along the first glazing bar next to the house all point to this joint. The stain often sits slightly lower than the fault because water runs down the back of the wall before showing.
Signs outside
Look at the flashing from the garden or an upstairs window. Lead that has lifted from the wall, been pulled out of its chase or split at a fold will show a gap. Pointing that has fallen out of the groove, a trim that has moved, sealant with a visible crack and moss growing along the edge all say the joint is open.
Causes
Mortar in the chase crumbles over time, and the lead then has nothing holding it. Lead can tear where it was stretched or folded badly. Wind lifts an unsecured edge. A flashing may never have been properly fitted in the first place, a common finding on conservatories built in a hurry.
Water from above
Sometimes the water has nothing to do with the flashing. A leaking gutter or downpipe on the house, a failed window head or a defect in the wall above can send water down onto the conservatory roof. Our survey looks above the flashing as well as at it.
Finding the path
We trace the route of the water, with a hose test where needed, before recommending a fix.
Cavity trays and the wall above
Behind the visible flashing sits another line of defence, and it is often missing or faulty on conservatories added to older houses.
What a cavity tray does
Where a conservatory roof meets a house with a cavity wall, any water that gets into the cavity above the roof line has to be sent back out. A cavity tray, a damp-proof membrane or preformed piece laid across the cavity, catches that water and directs it to weep holes in the outer leaf, so it escapes to the outside. Without one, water runs down the inner leaf and into the conservatory.
Why it matters at the roof line
The flashing deals with water on the face of the wall. The tray deals with water inside it. If the tray is missing or has been bridged by mortar droppings, a leak can persist after the flashing has been renewed, which is why we look at the wall as well as the lead.
Checking
Finding out whether a tray exists is not always easy. Weep holes above the roof line are a good sign. Their absence can mean there is no tray, or that the holes were blocked or rendered over. A borescope camera or a careful opening of the wall can answer the question if the leak will not clear.
Solid walls
Older houses with solid walls have no cavity, so the flashing and the wall's condition carry all the weight. Pointing, brick condition and rendering matter more.
If the damp persists after the flashing is right, we say what the next step is and who it involves.
Repairing, renewing and what it costs
A survey decides whether the flashing needs a repair or a new one, and the decision follows what we find.
Repairs
If the lead is sound and has simply lifted, we re-dress it, wedge it and repoint the chase. If a trim's sealant has failed, we clear the old bead and apply new on clean surfaces. A short length of damaged flashing can be cut out and a new piece lapped in. These are quick jobs when access is easy.
Renewal
Where lead is torn or poorly laid, where a trim is bent or loose, or where the flashing has failed in several places, we strip it and fit a new one. That means cutting a fresh chase if the old one has crumbled, fitting the lead or trim, and sealing the whole run. We check the roof edge and the sealing strips below at the same time.
What drives the price
Length of run, access (a high wall may need a platform), whether the chase is sound, lead against trim, the lead weight and the condition of the wall all matter. MyJobQuote says full chimney leadwork runs from £350 to £920 depending on scaffolding (September 2026), and the same logic applies to a wall flashing: access is a large part of the cost. That is a different job and not a price for yours.
One total
Once the survey is done, the quote is one written total. Describe where the damp shows, and add a photo of the joint from the garden if you can.